
This article will help you trough the first time connecting and starting of your eScore system. You will be guided trough how to connect to the eHub user interface and how to configure and setup the units connected to the system.
 The eHub is located in the "power cabinet with eHub"
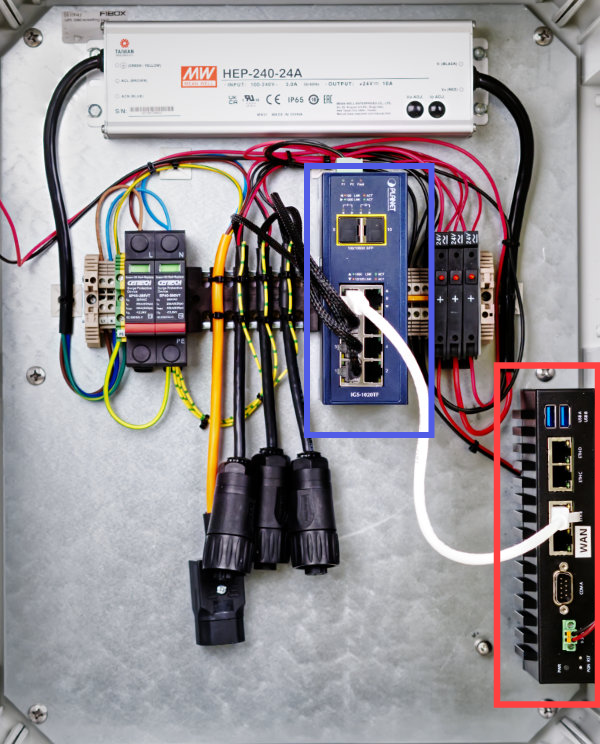 The inside of "power cabinet with eHub". A switch (blue rectangle) and the eHub(red rectangle).
How to access the eHub user interface
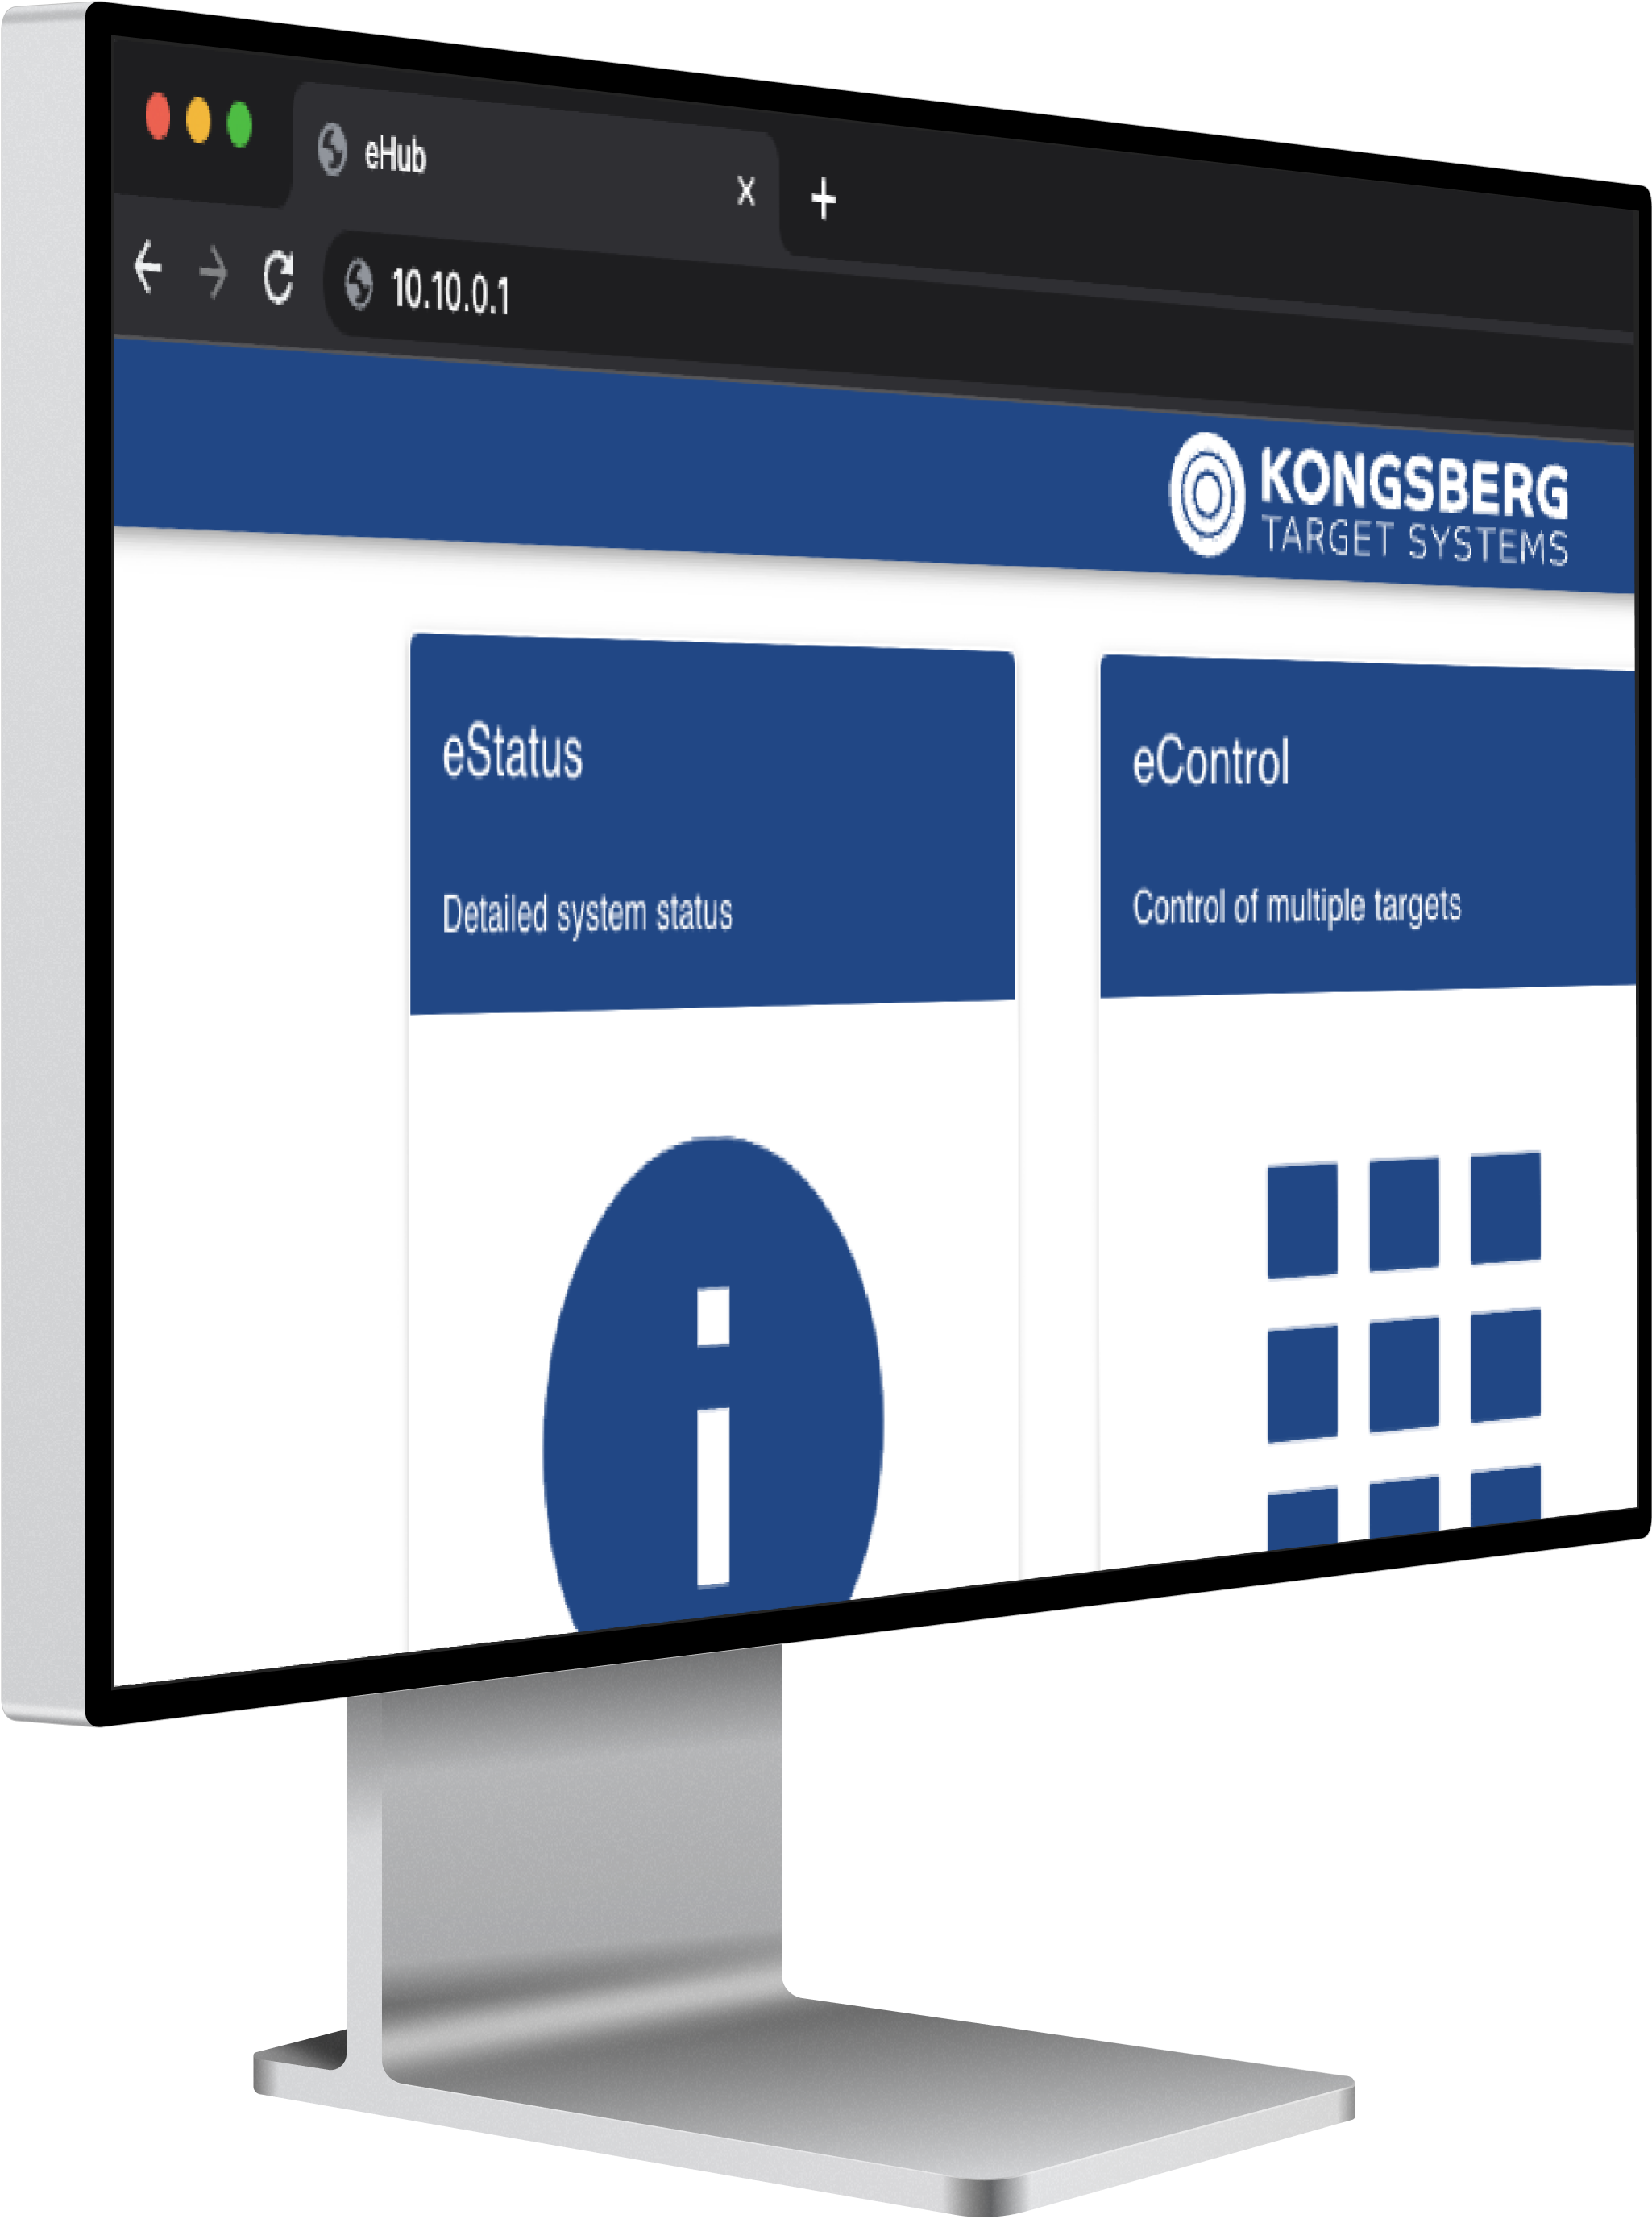
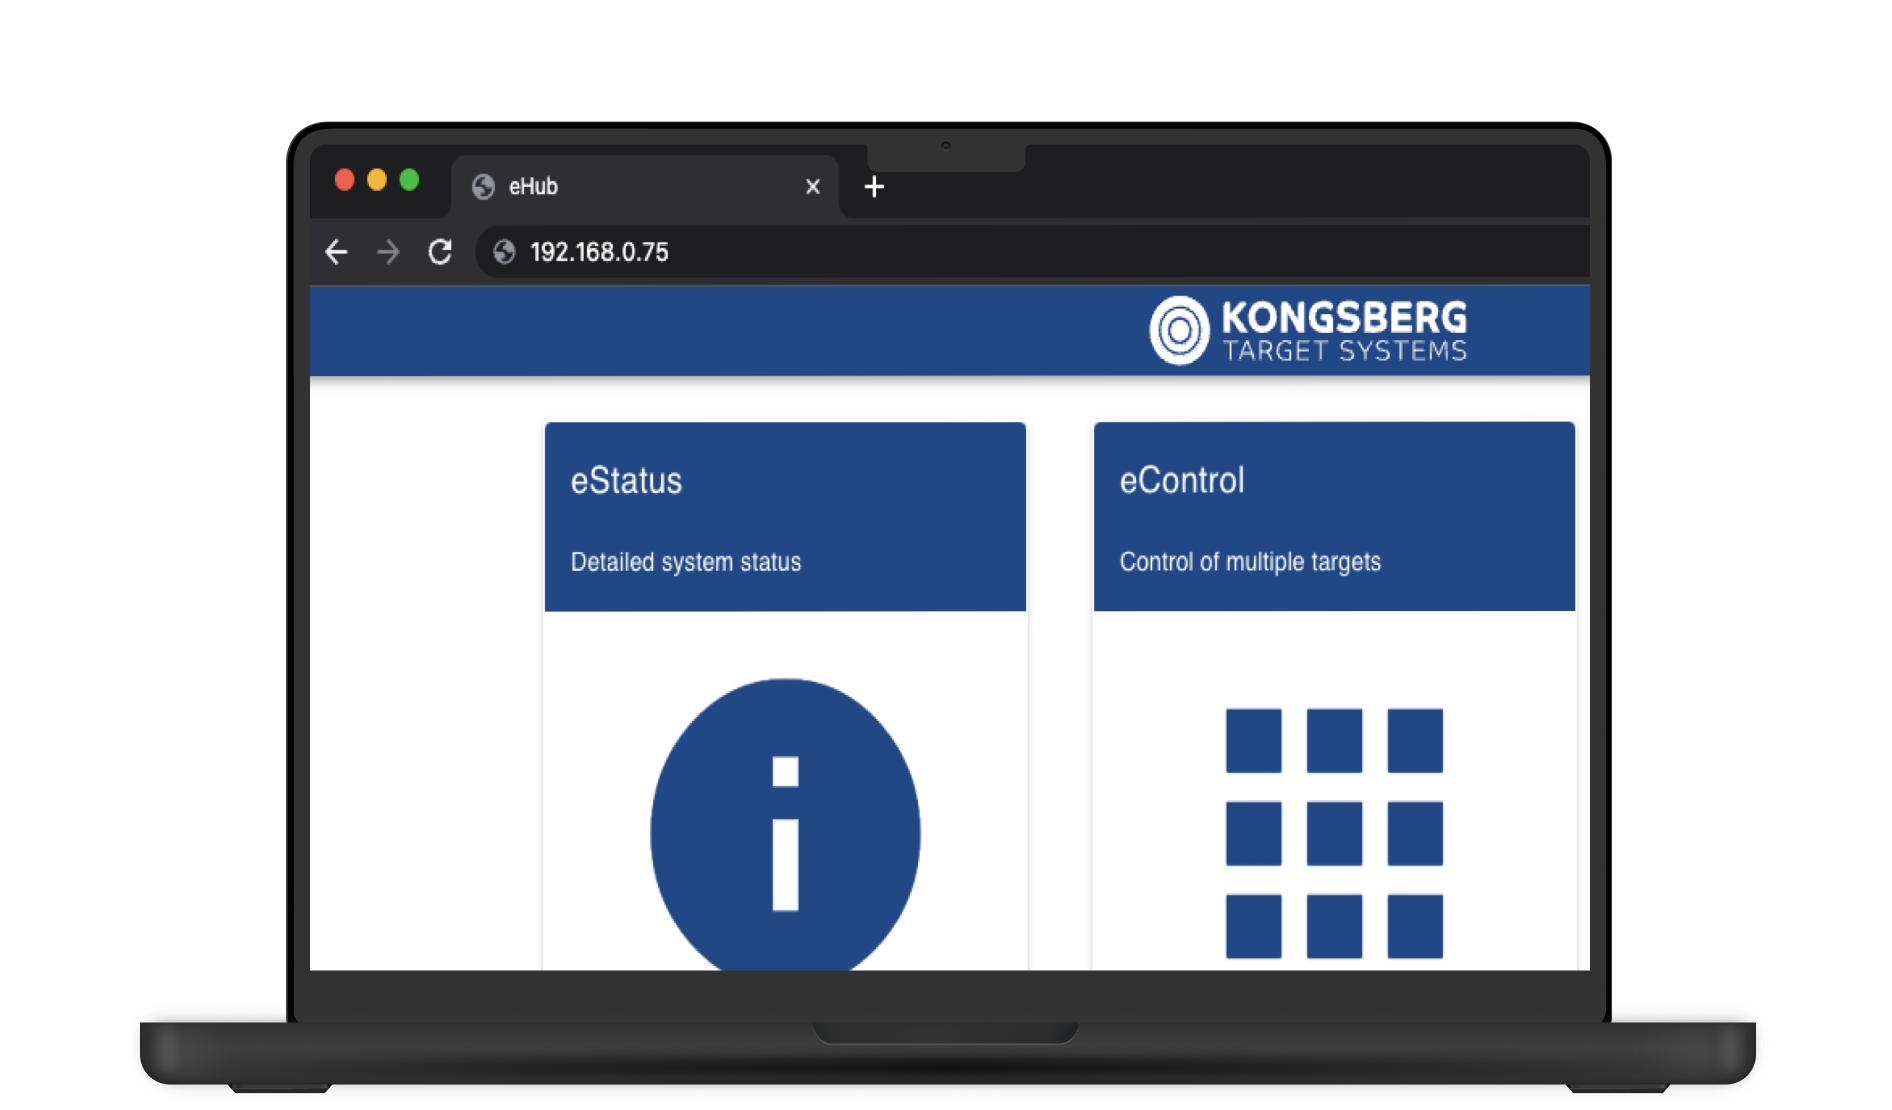
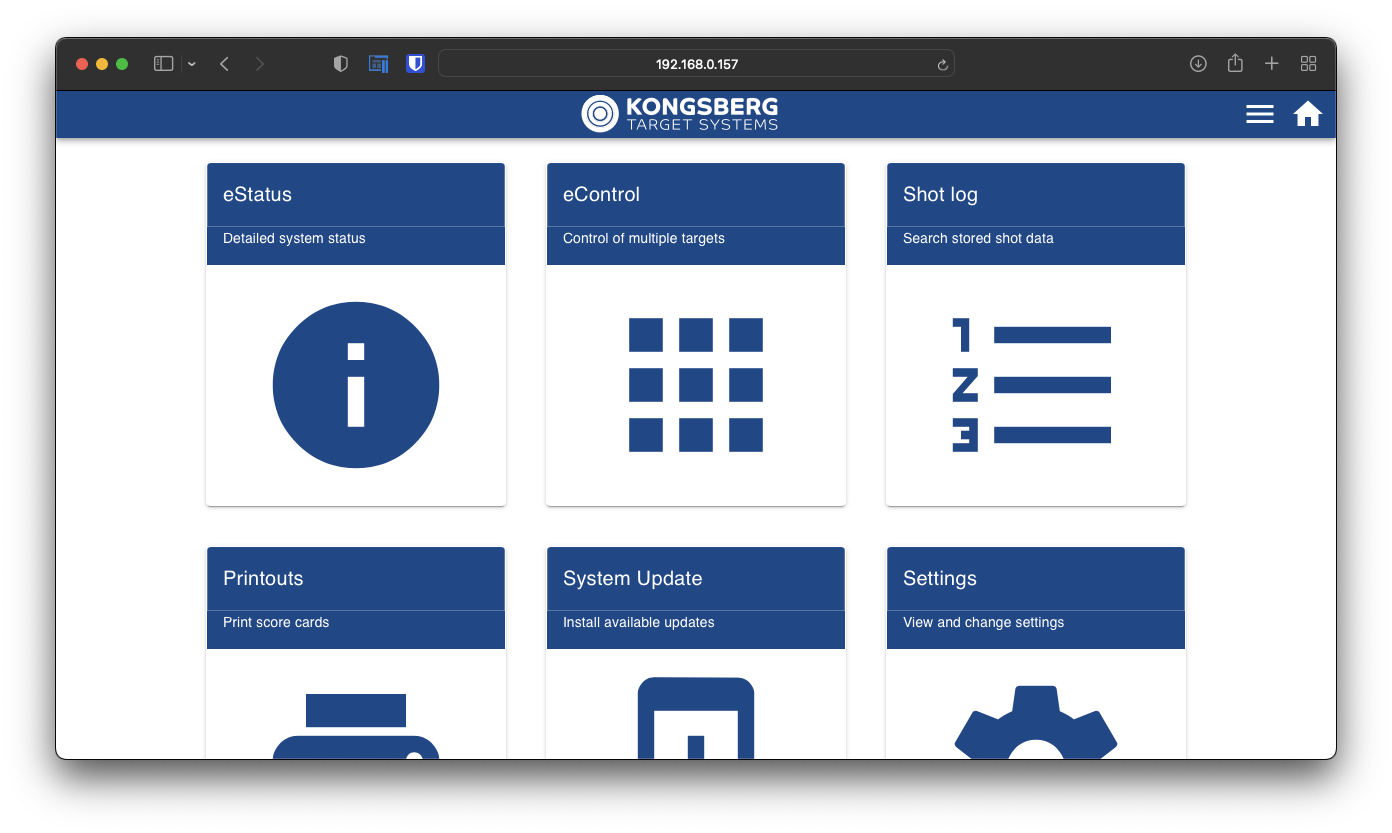 eHub user interface.
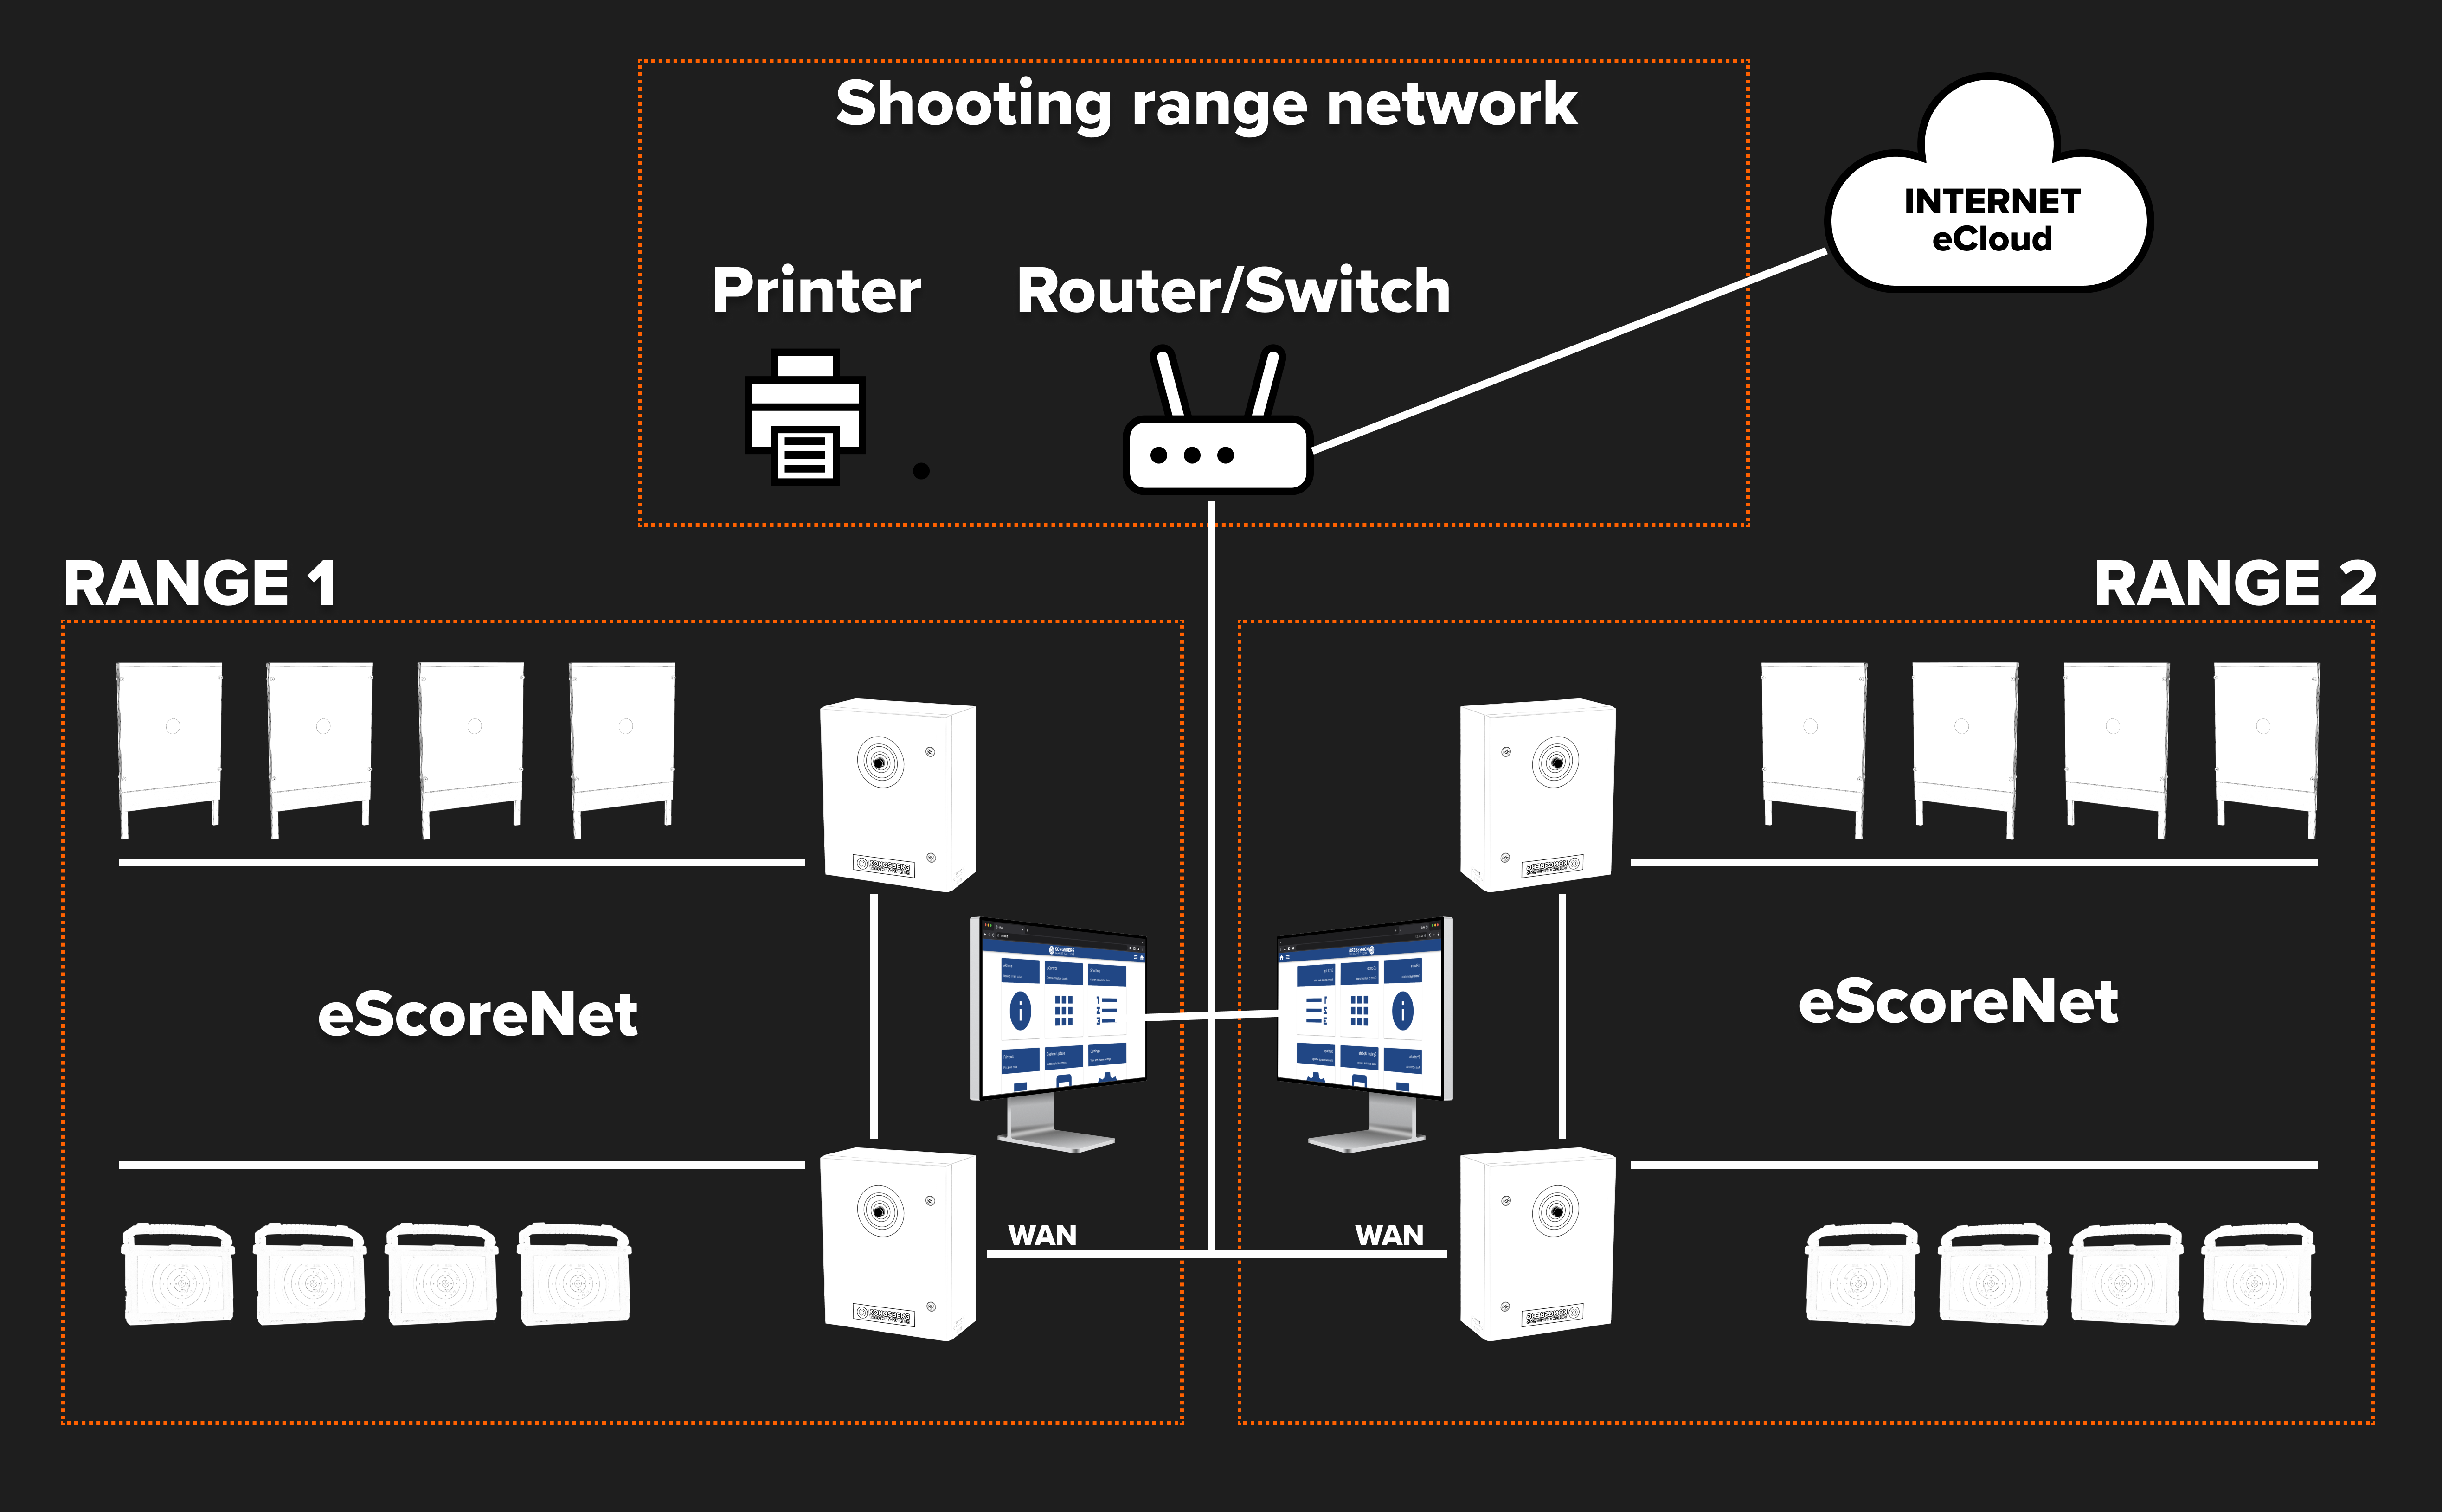 System sketch of how the different units are connected to the eScoreNet and the shooting range network.
To access the eHub the first time, you need to connect your tablet or PC to the eScoreNet.
eScoreNet is the closed network for the eScore system only, securely connecting eScore equipment together.
eScoreNet is available by wired and WiFi connection.
Wired connection
You need to connect to one of the spare ports in the switch located in the "power cabinet with eHub". Connected devices will get an IP-address from the eScoreNet.
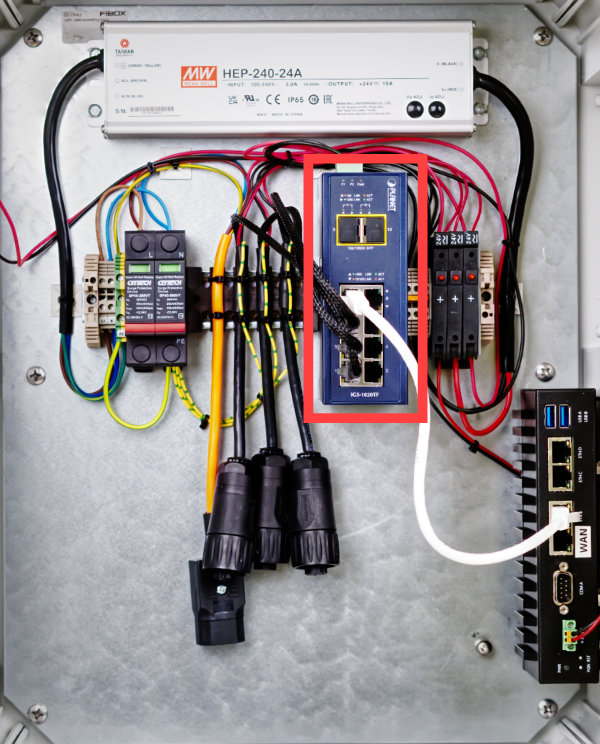 The switch is located inside the "power cabinet with eHub" (red rectangle).
Wireless connection (WiFi)
You need to connect to the firing line wireless network with SSID KTS_FL_XX, where XX is system number, e.g. KTS_FL_01. Connected devices will get an IP-address from the eScoreNet.
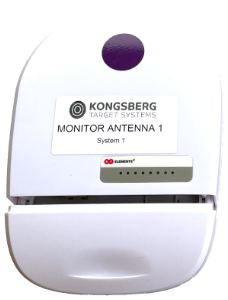 The username and password is printed on a label on the monitor antenna.
Enter 10.10.0.1 in your favorite internet browser to get access to the eHub user interface.
If the eHub is connected to your local club network trough the WAN port in the eHub cabinet, you can access the eHub by entering the host IP-address of the eHub.
Now that you already are connected to the internal eScoreNet, you can get the host IP-address by expanding the question below.
How to get the host IP-address of the eHub?
How to get the host IP-address of the eHub
-
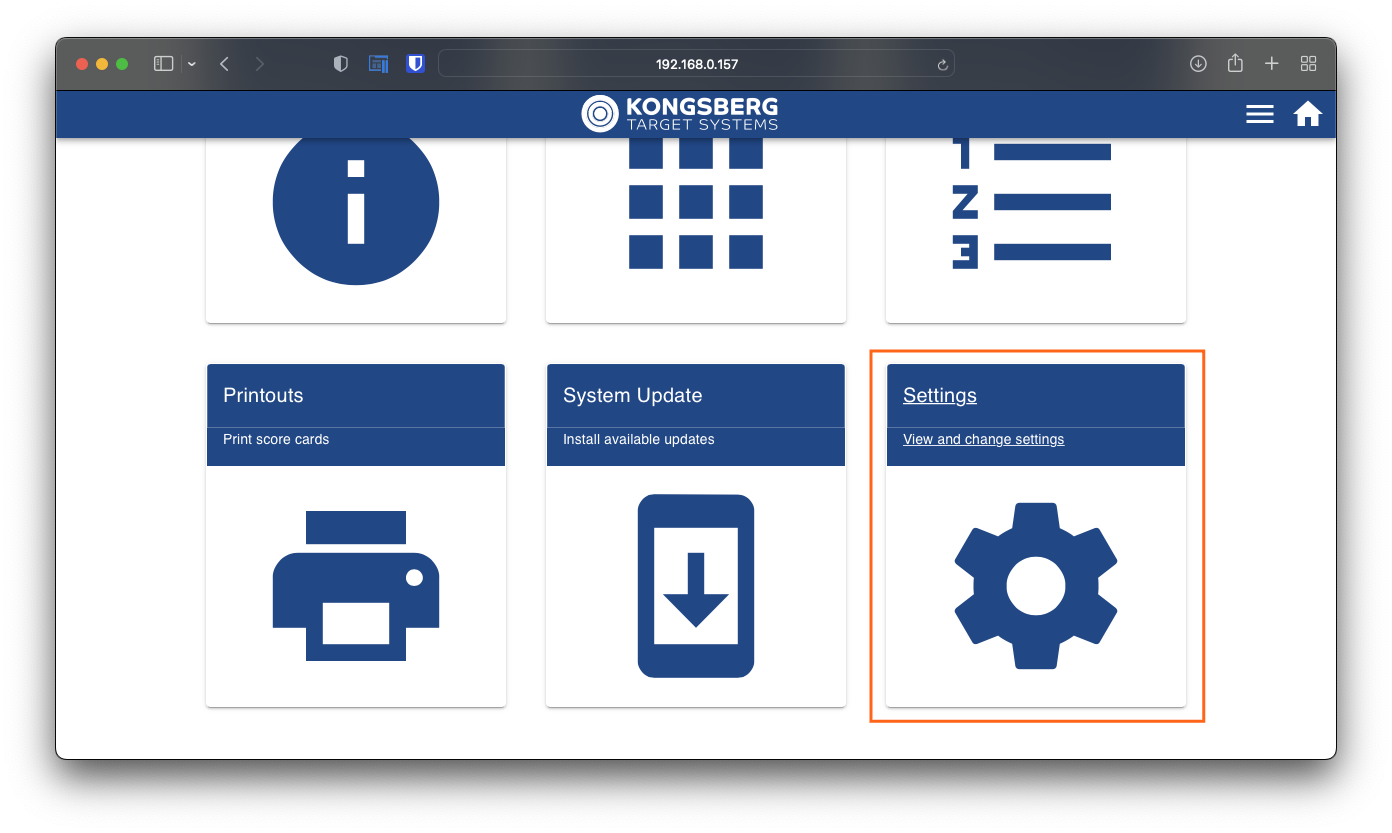
Select the eStatus application, marked with a red border.
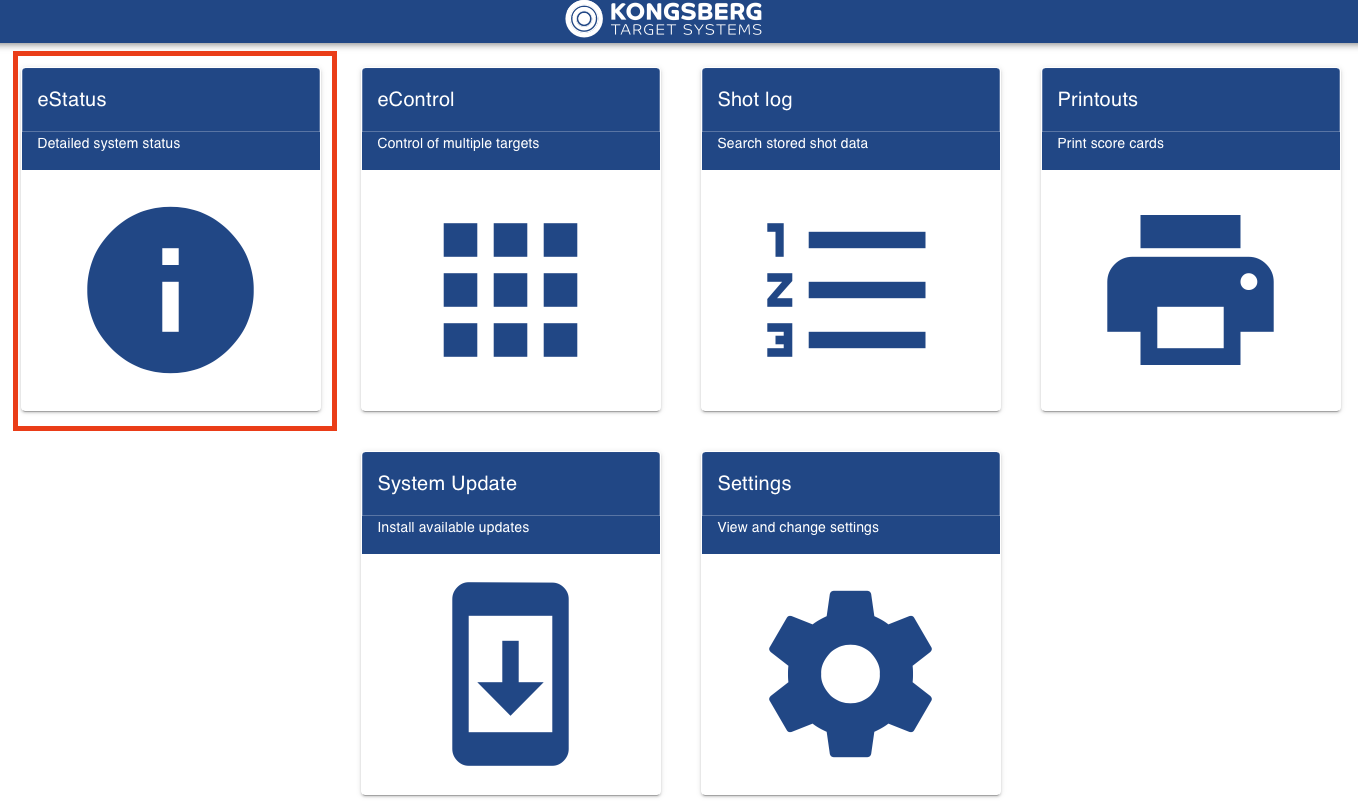
- Expand the eHub group to the right, to find the external IP-address you need to connect to the eHub user interface

- Remember the host IP-address listed
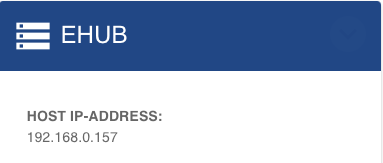
 The local address is provided by the router on the local shooting range network, and will vary from range to range.
Connected units
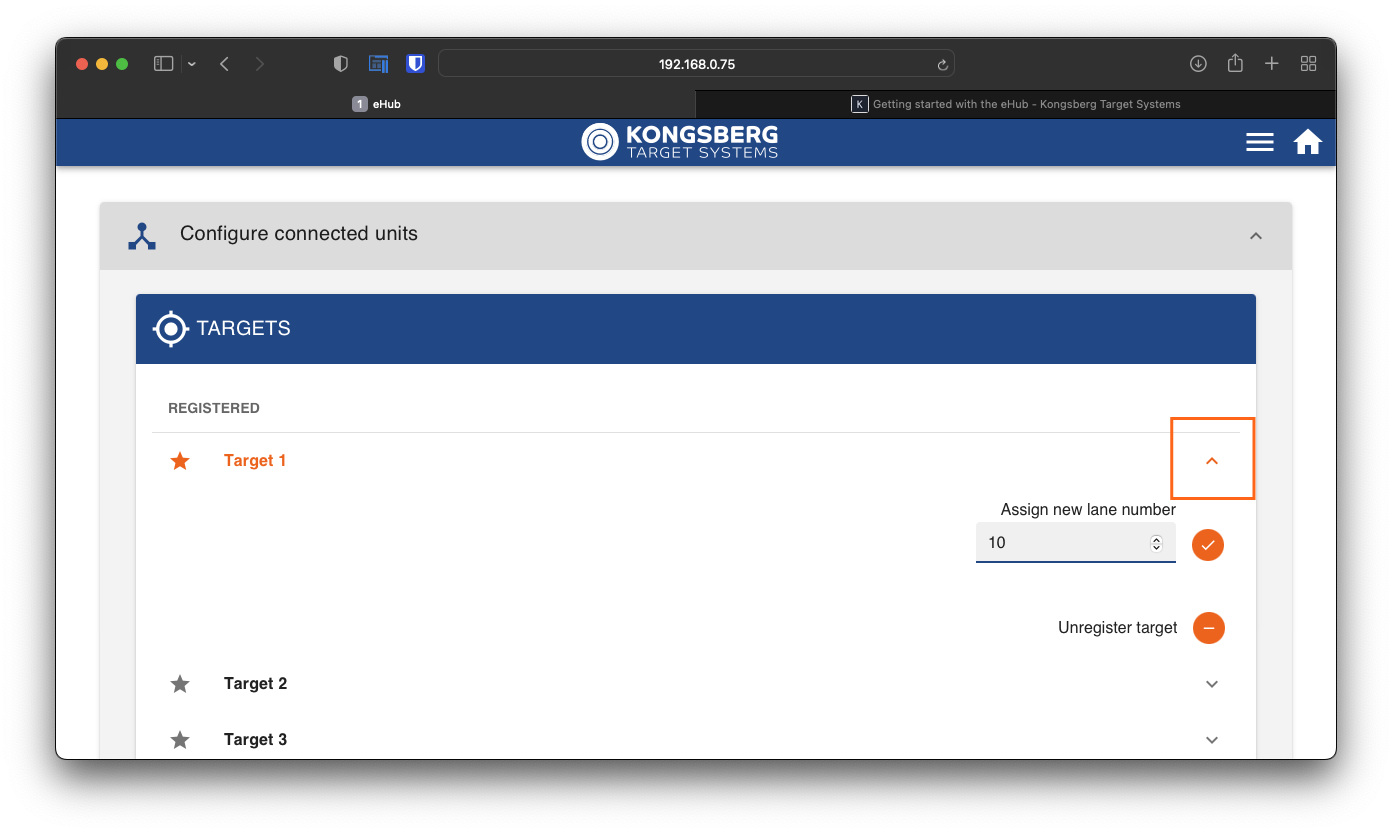
All units are automatically identified by the system. But for eScore to know how many targets, antennas and shooter monitors that belongs to the range, we need to register them.
By doing this we know how many units to expect, and the system will immediately tell if not all units are powered on or there is an issue with one of the units. The range status is available by the eStatus page.
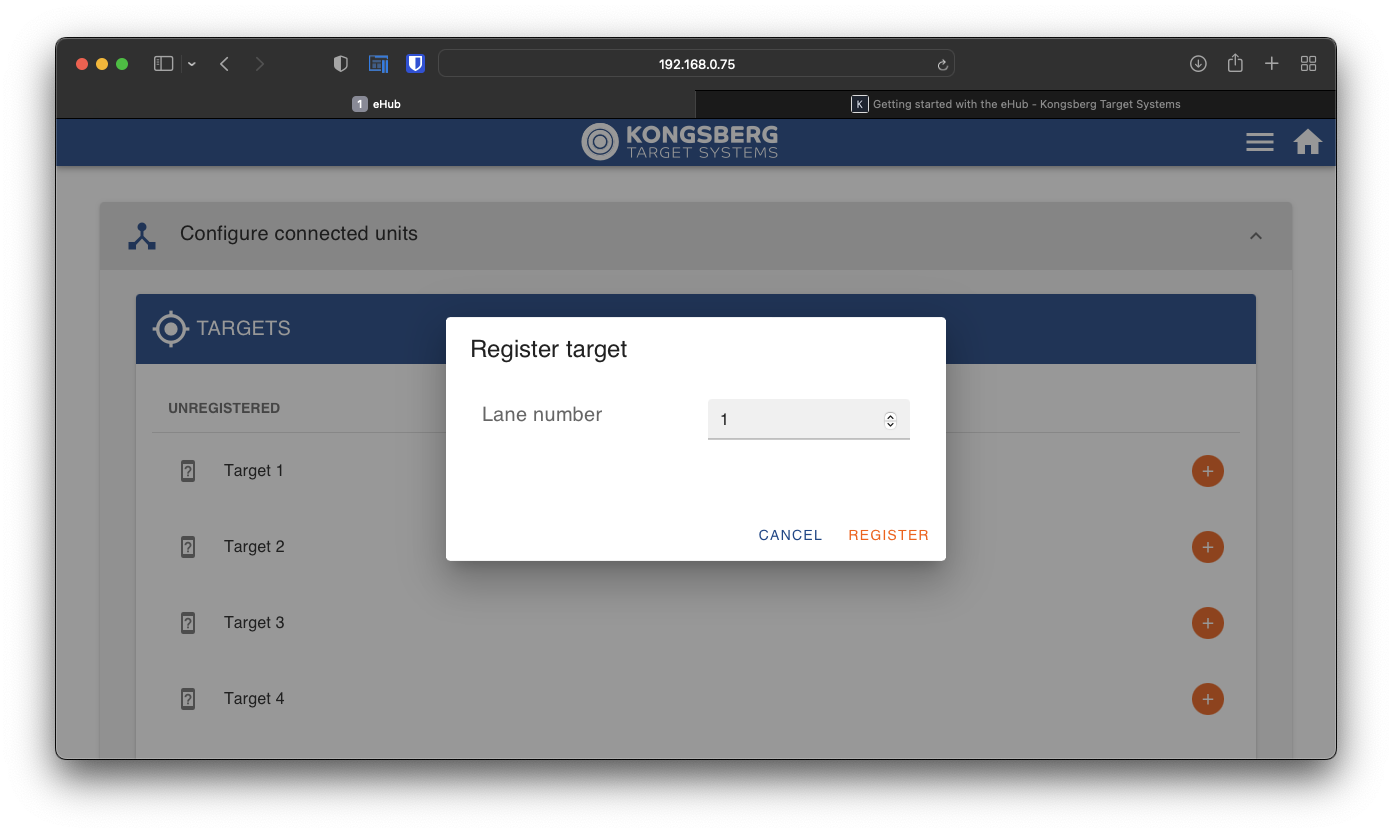
How to register connected units
First, you need to access the eHub user interface. And then go to "Settings" page.
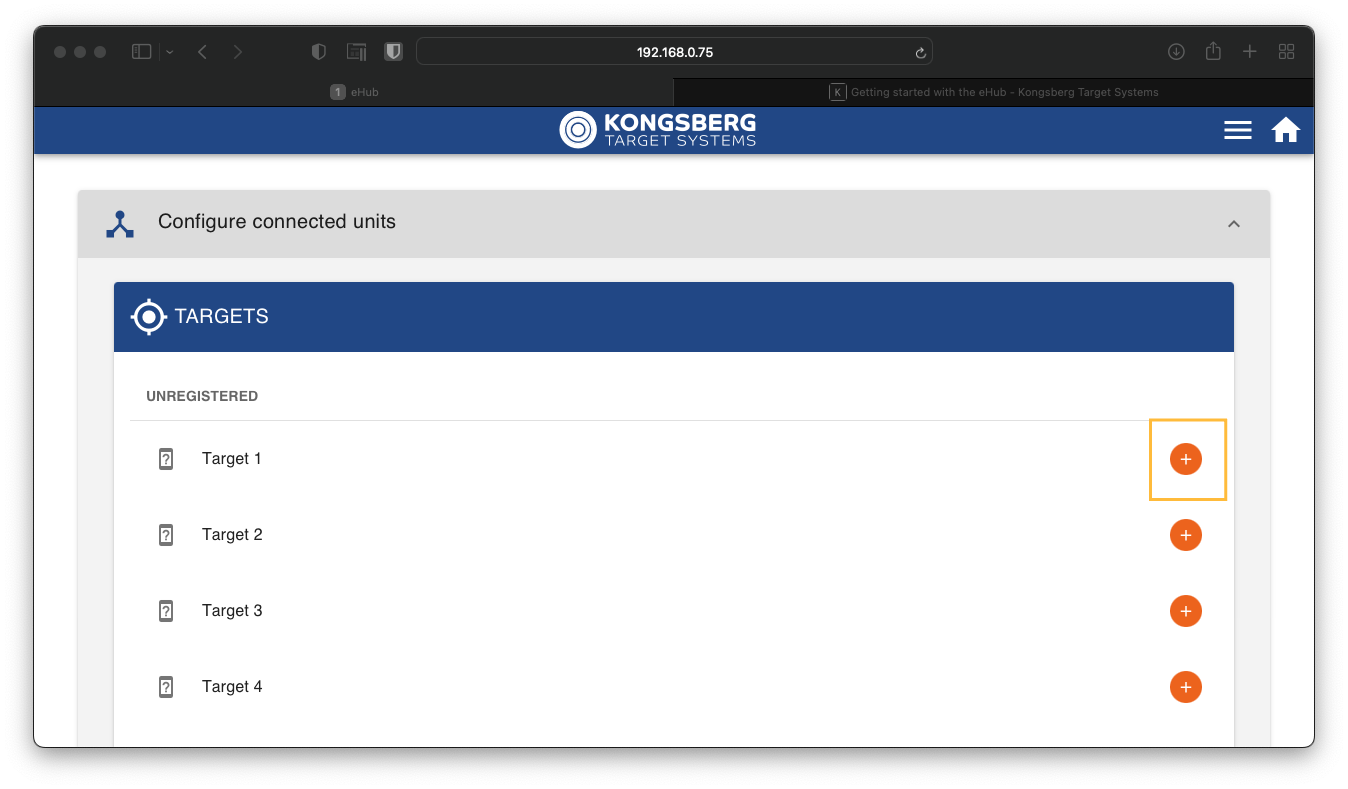
 Click or tap "configure connected units" to expand.
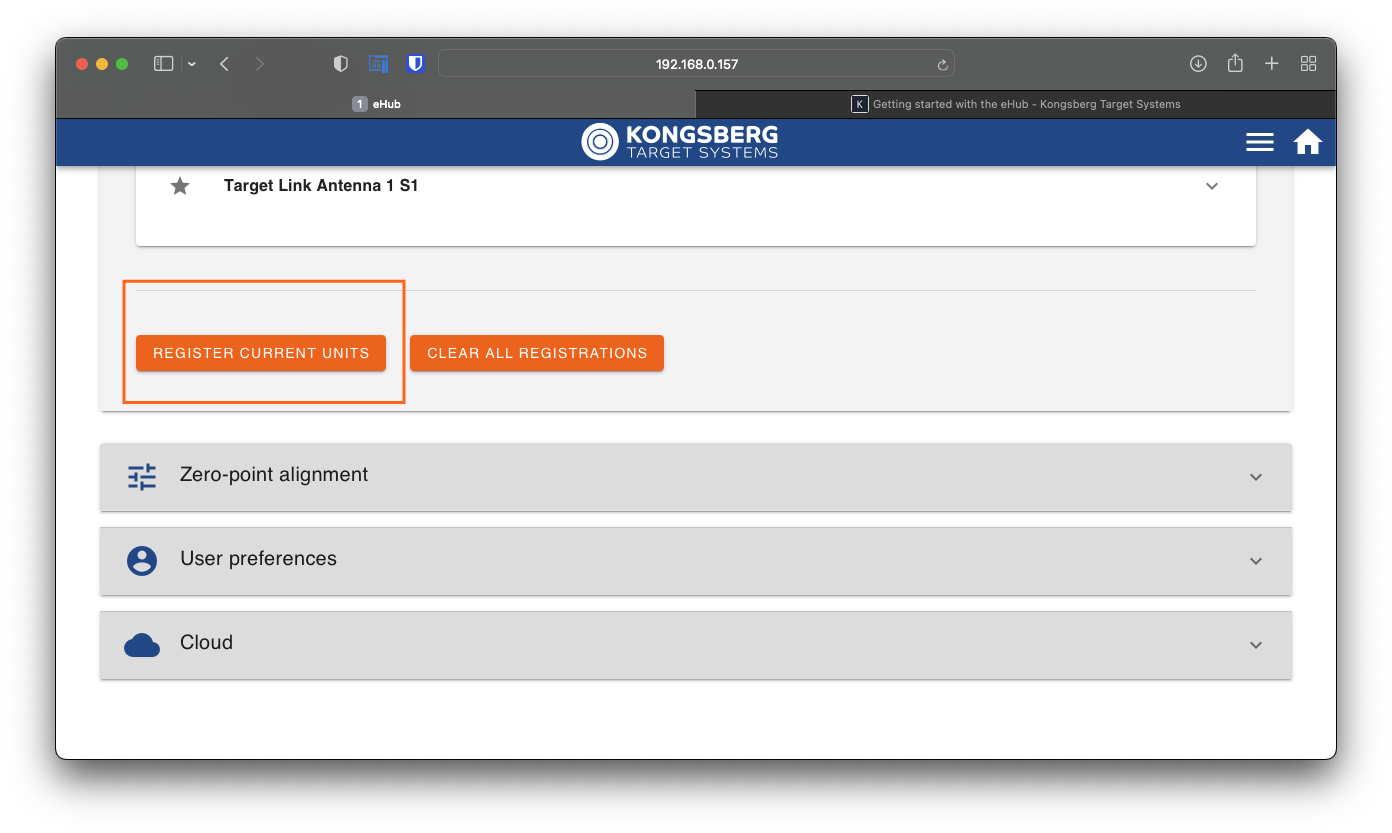
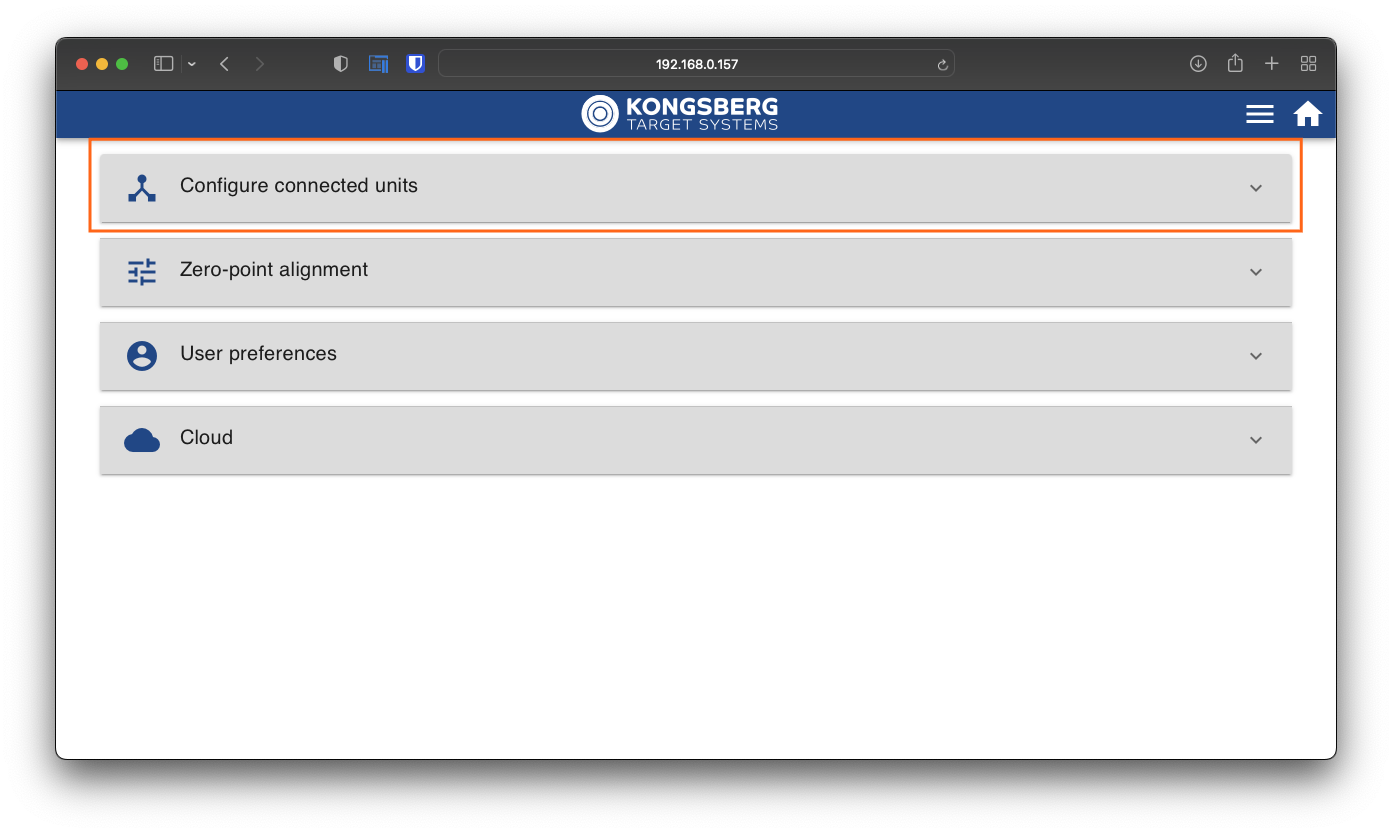 Normally all targets has been pre-configured with correct target numbers, so all you need to do is scroll down to "REGISTER CURRENT UNITS" and click the button. All these units will be registered to belong to this range. When checking for status, it will expect these units to be powered on and working, if not you will get warnings or alarms.
User preferences
Click or tap the settings page.
 Click or tap "User preferences"to expand.

Choose language from the drop-down list, and click or tap save.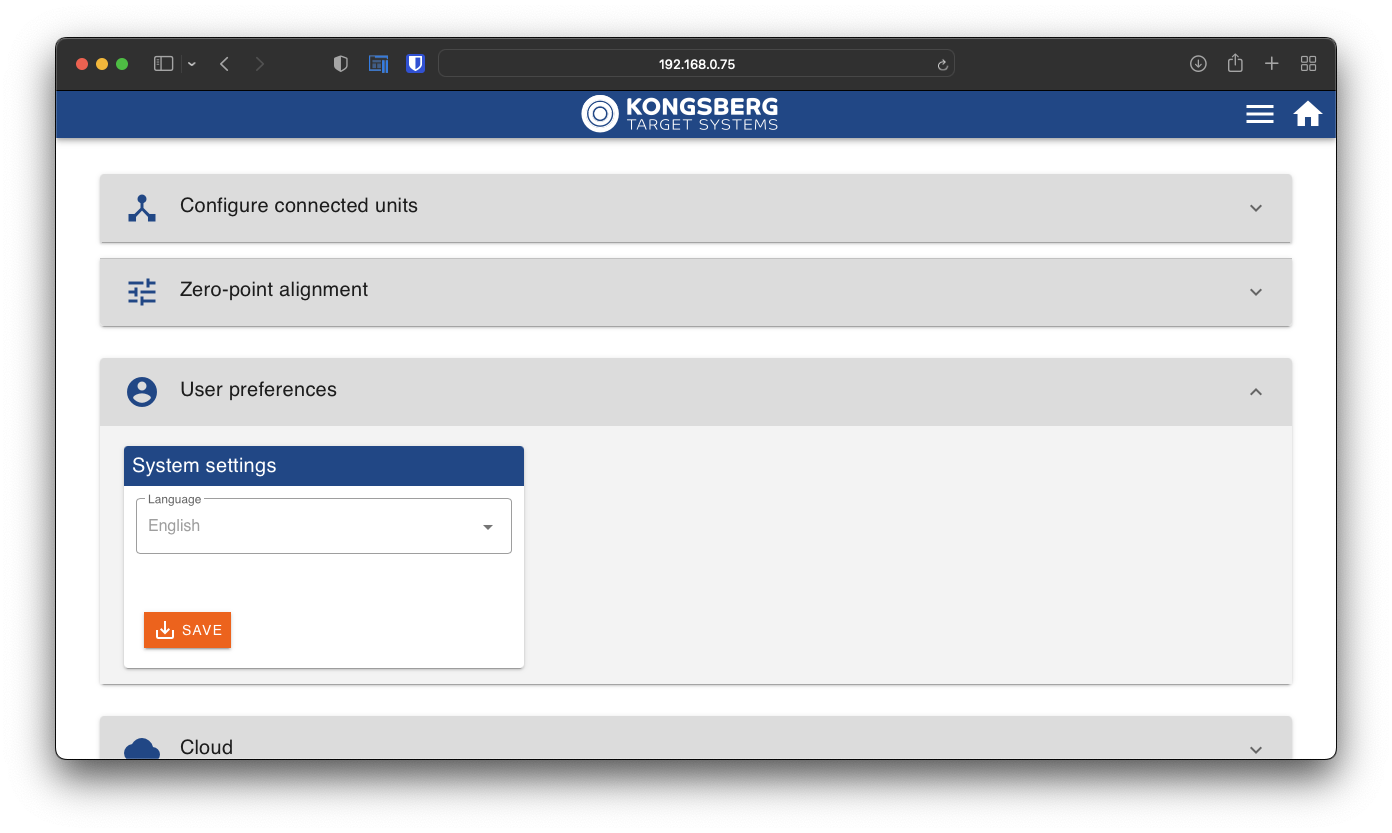
Configure WinGPS Cloud
Locate the username and password from the e-mail received by Kongsberg Target Systems.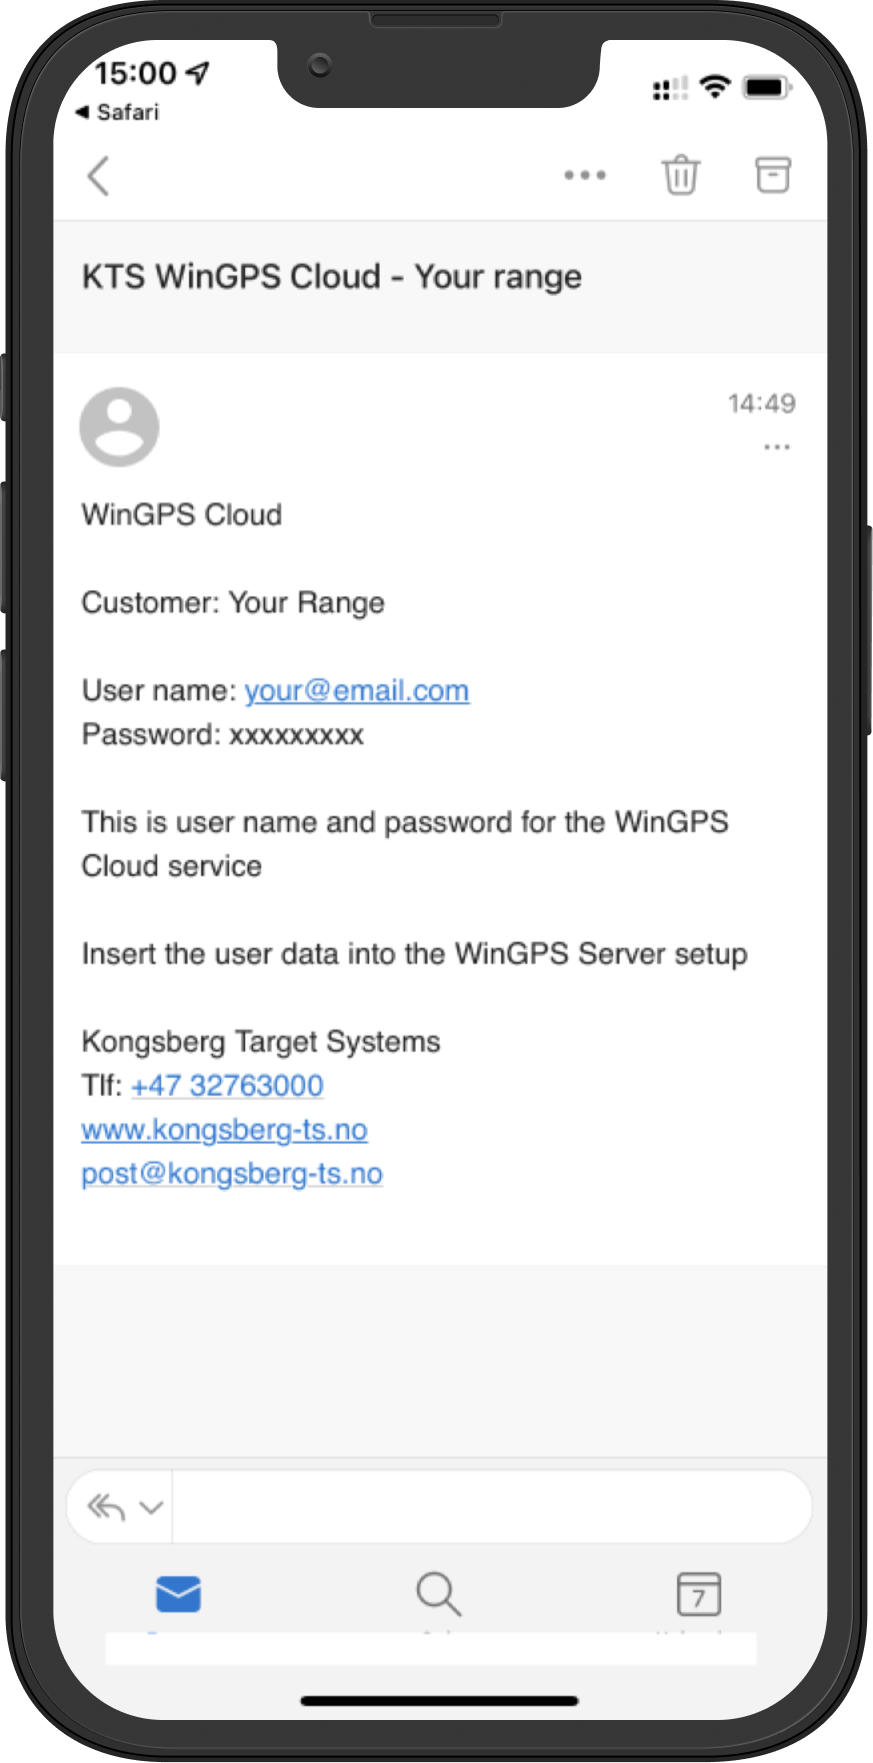
Go to the settings page on the eHub and click or tap "Cloud" to expand.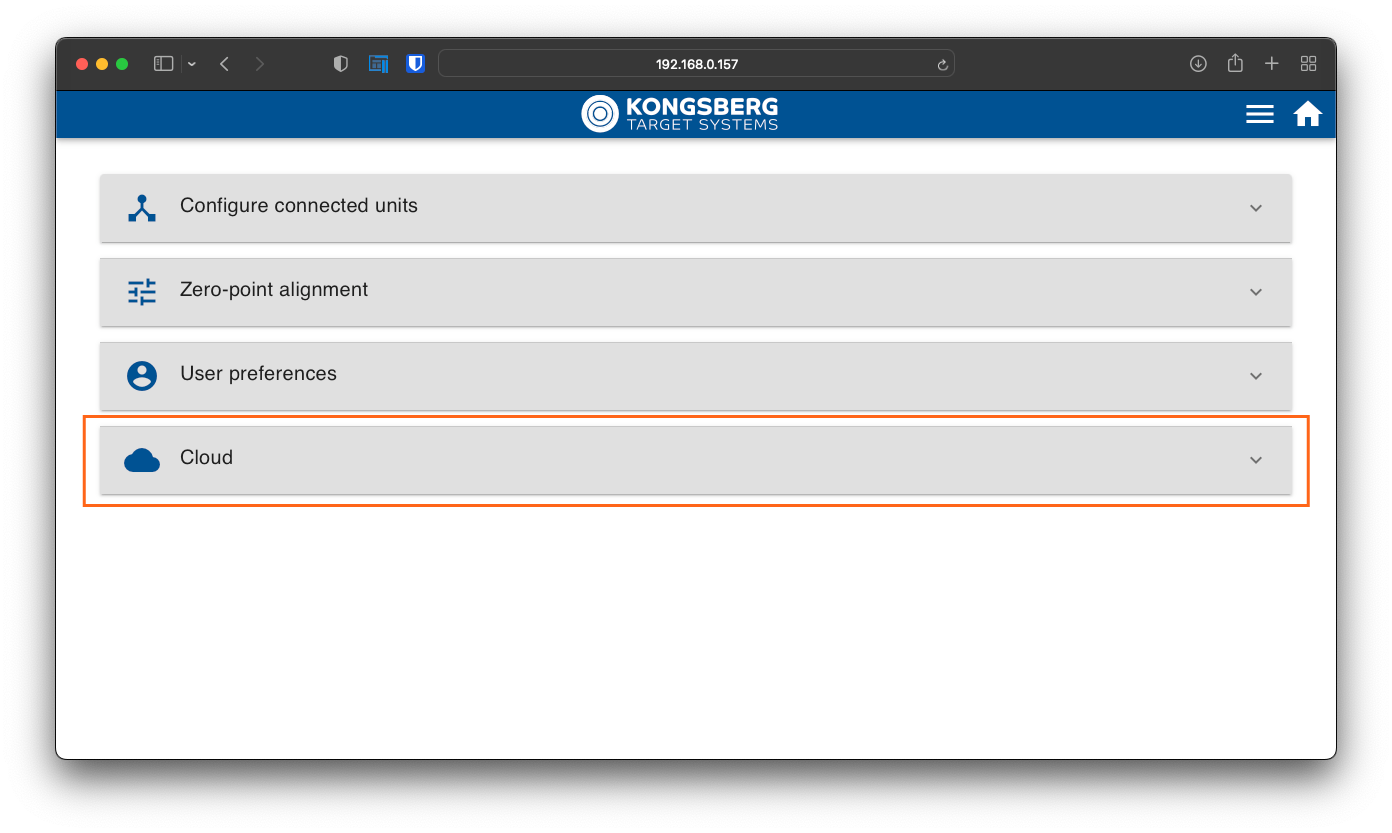
Username and password
Enter username and passord received from Kongsberg Target Systems, and live internet spectator viewing will be up and running for your system.
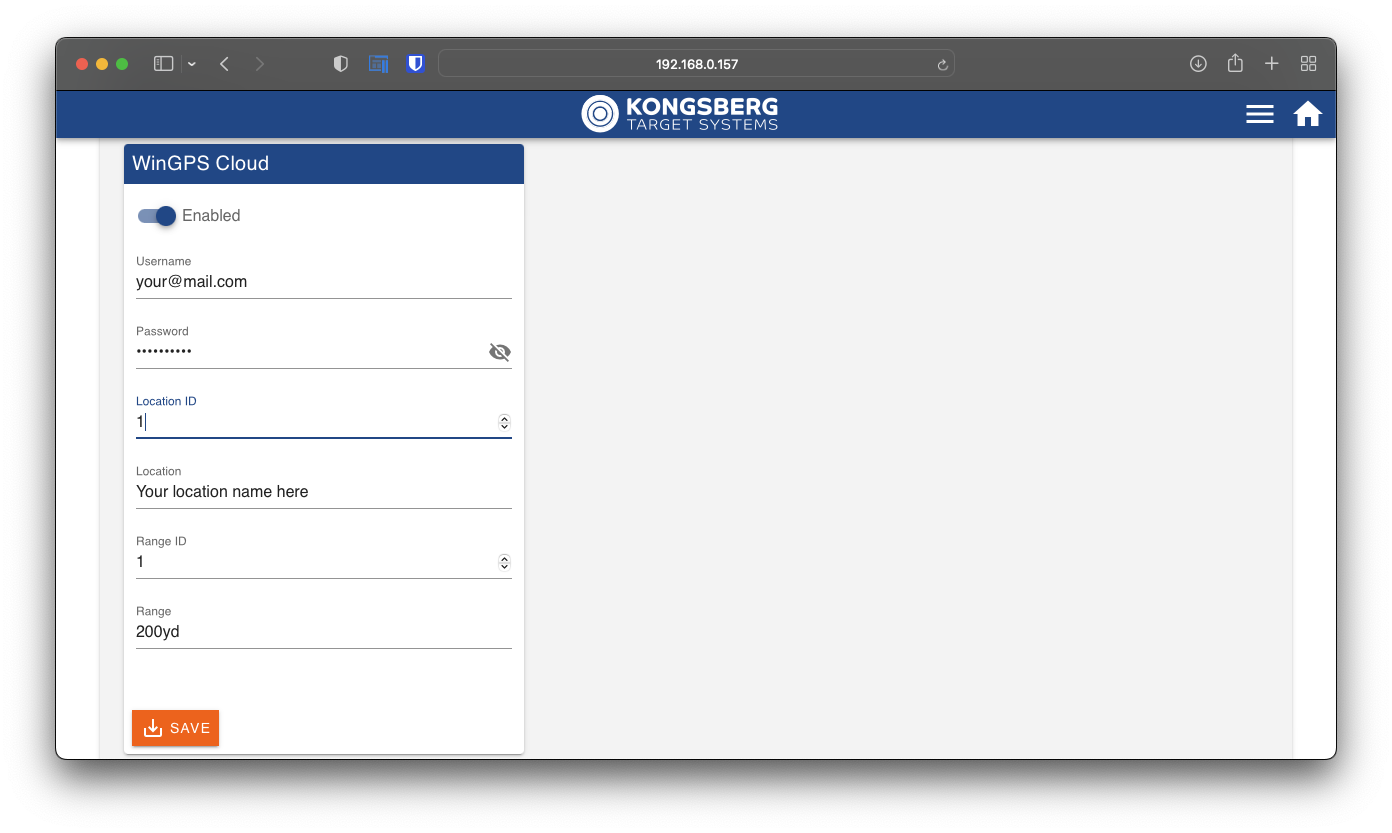
Location
If your shooting range has multiple physical locations, you need to specify the location ID. If you only got one location, please use location Id 1.
Range
A range is a firing line and target line linked together. For instance a 100yd range and a 600yd range may be two different ranges.
Example
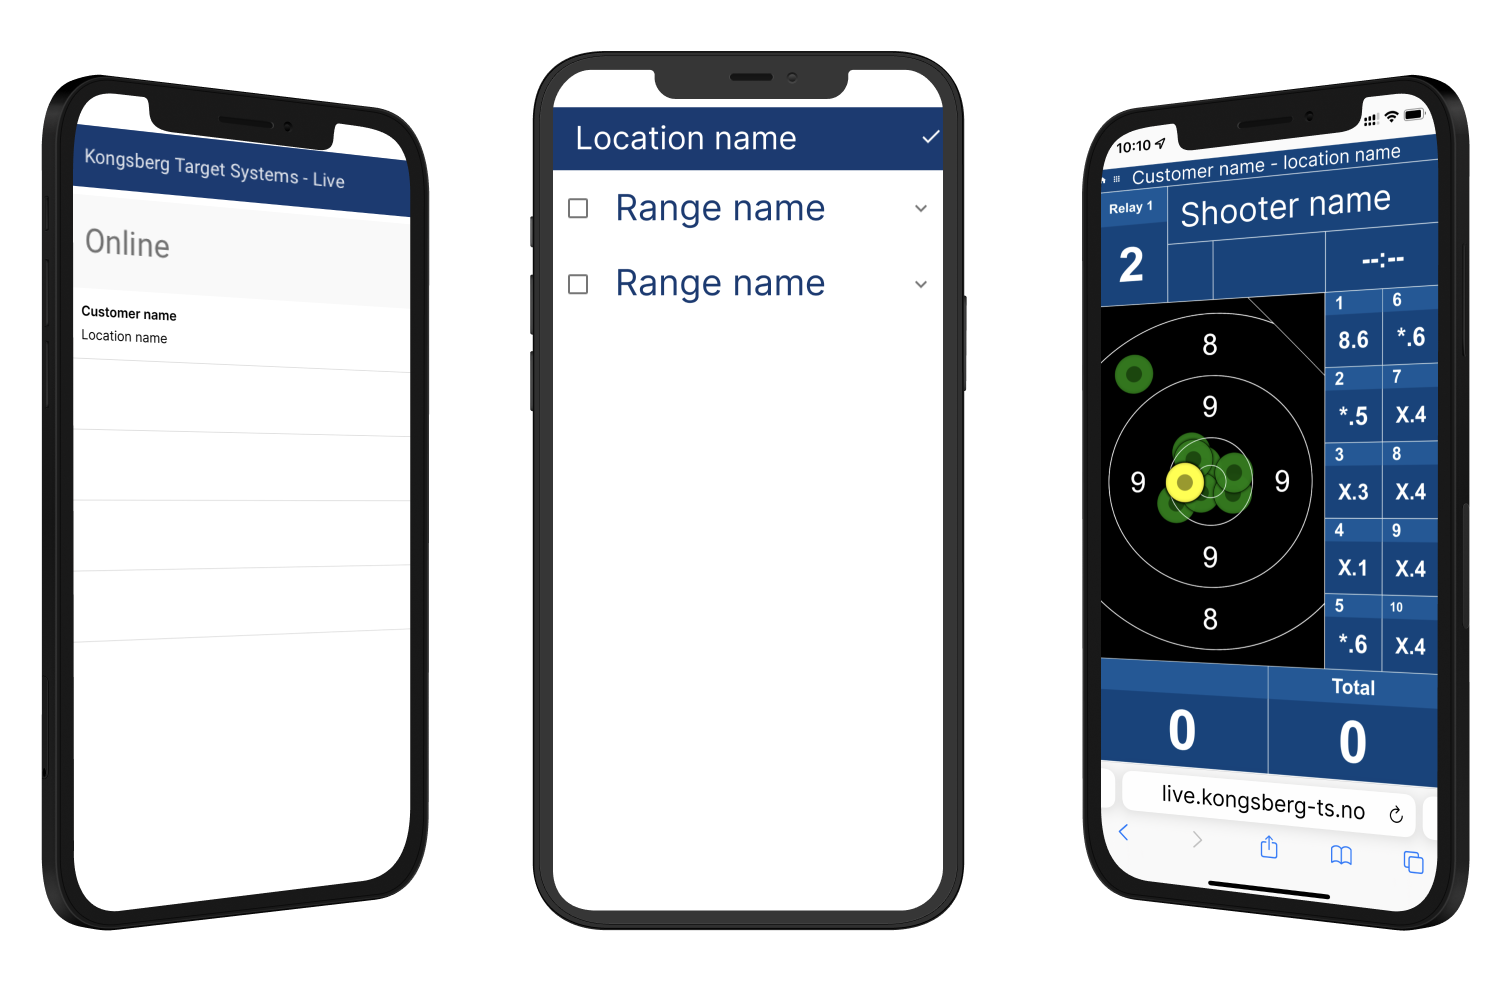 Example of how customer name, location name and range name is listed on WinGPS Cloud.
System status
To get an overview of the system status, you can navigate to the eStatus page. Here you will get a quick and brief overview of registered unit. You will get connection status, battery warnings and sensor warnings etc.
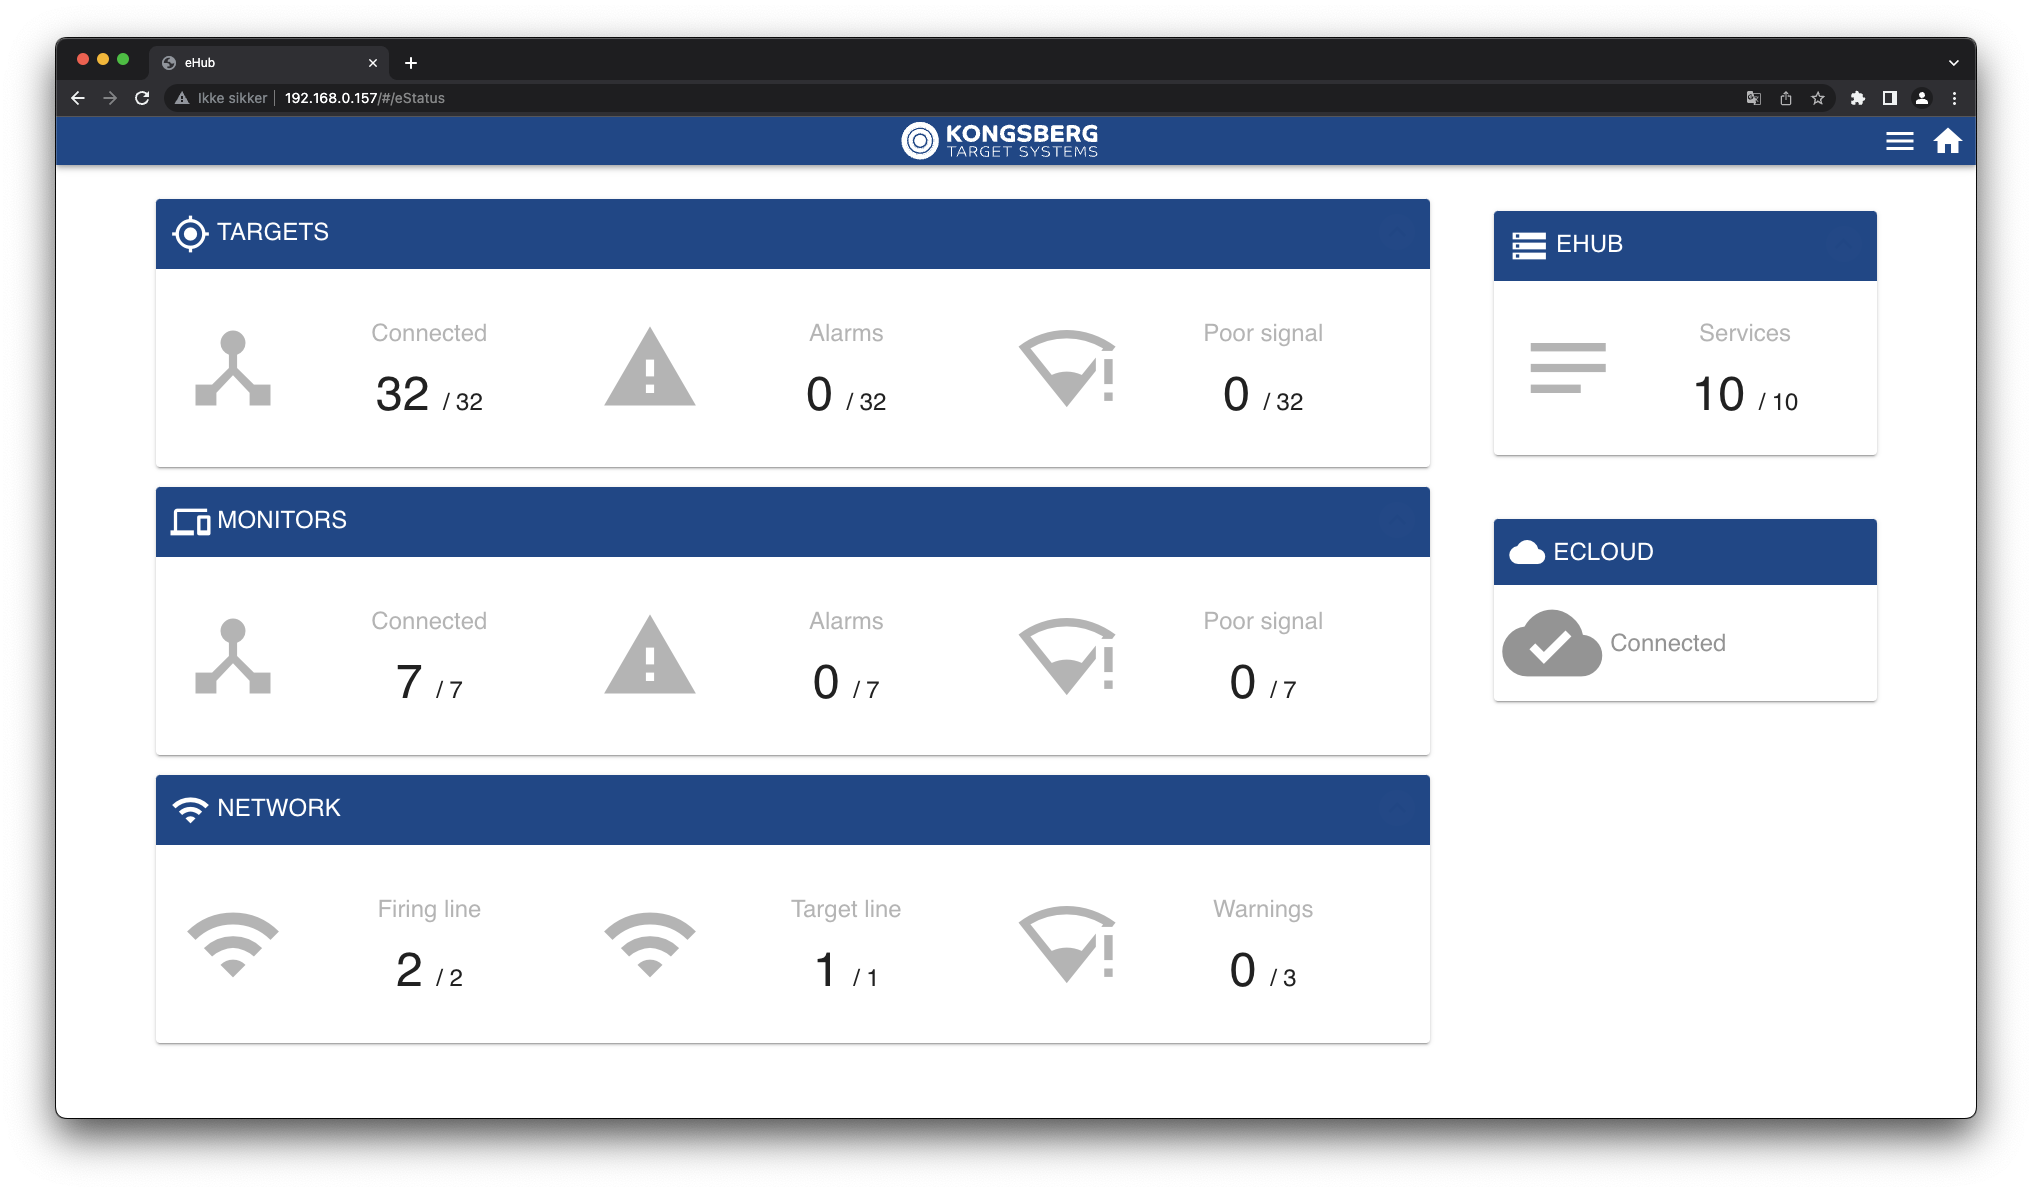 At the image above, everything is working as intended. No alarms or warnings.
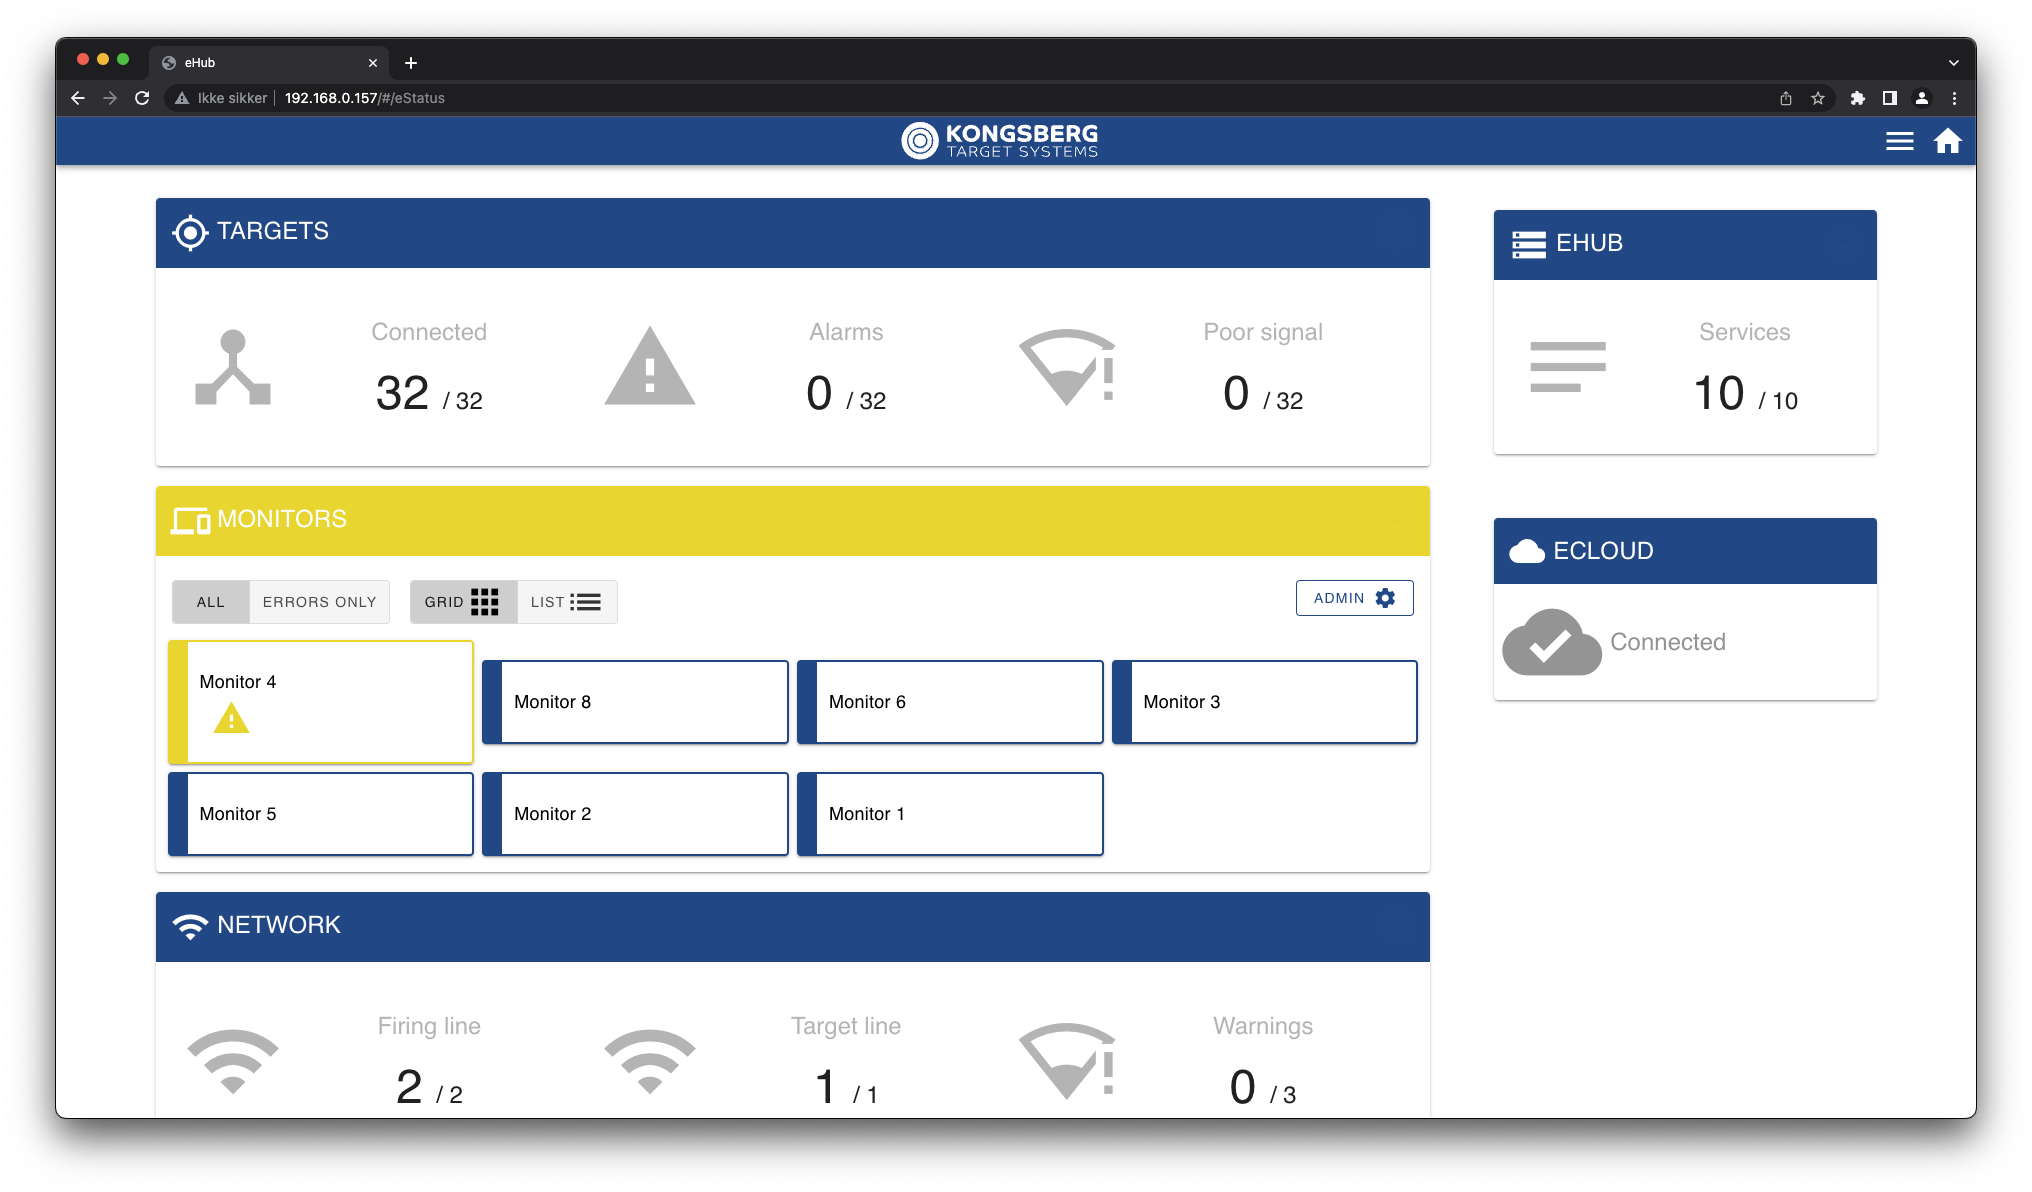
Navigation
On the overview page, you will get a quick overview. To get more details click or tap the header to expand.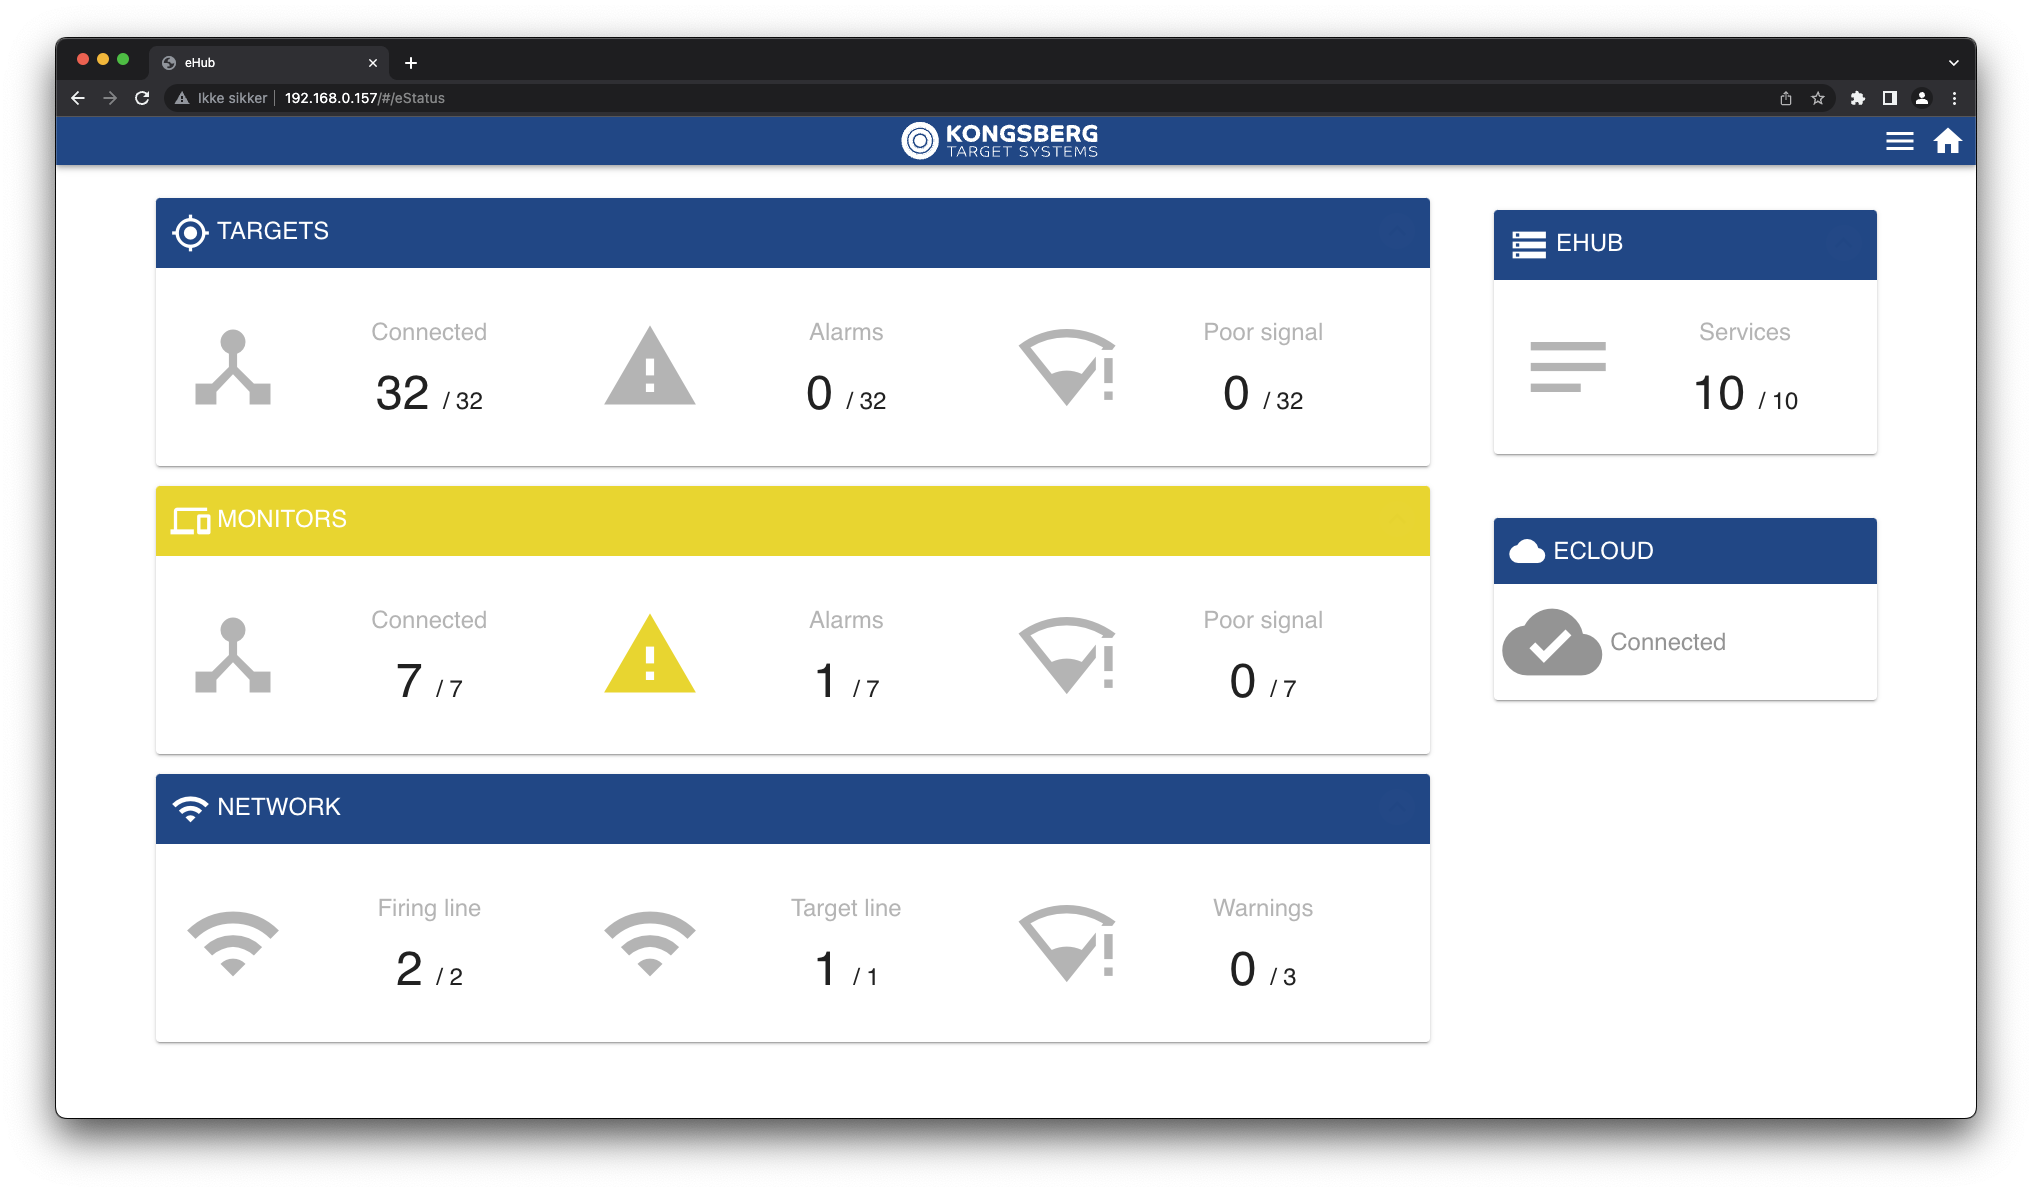
To get more details of a unit, click or tap to expand.
Here you get all details of a unit.
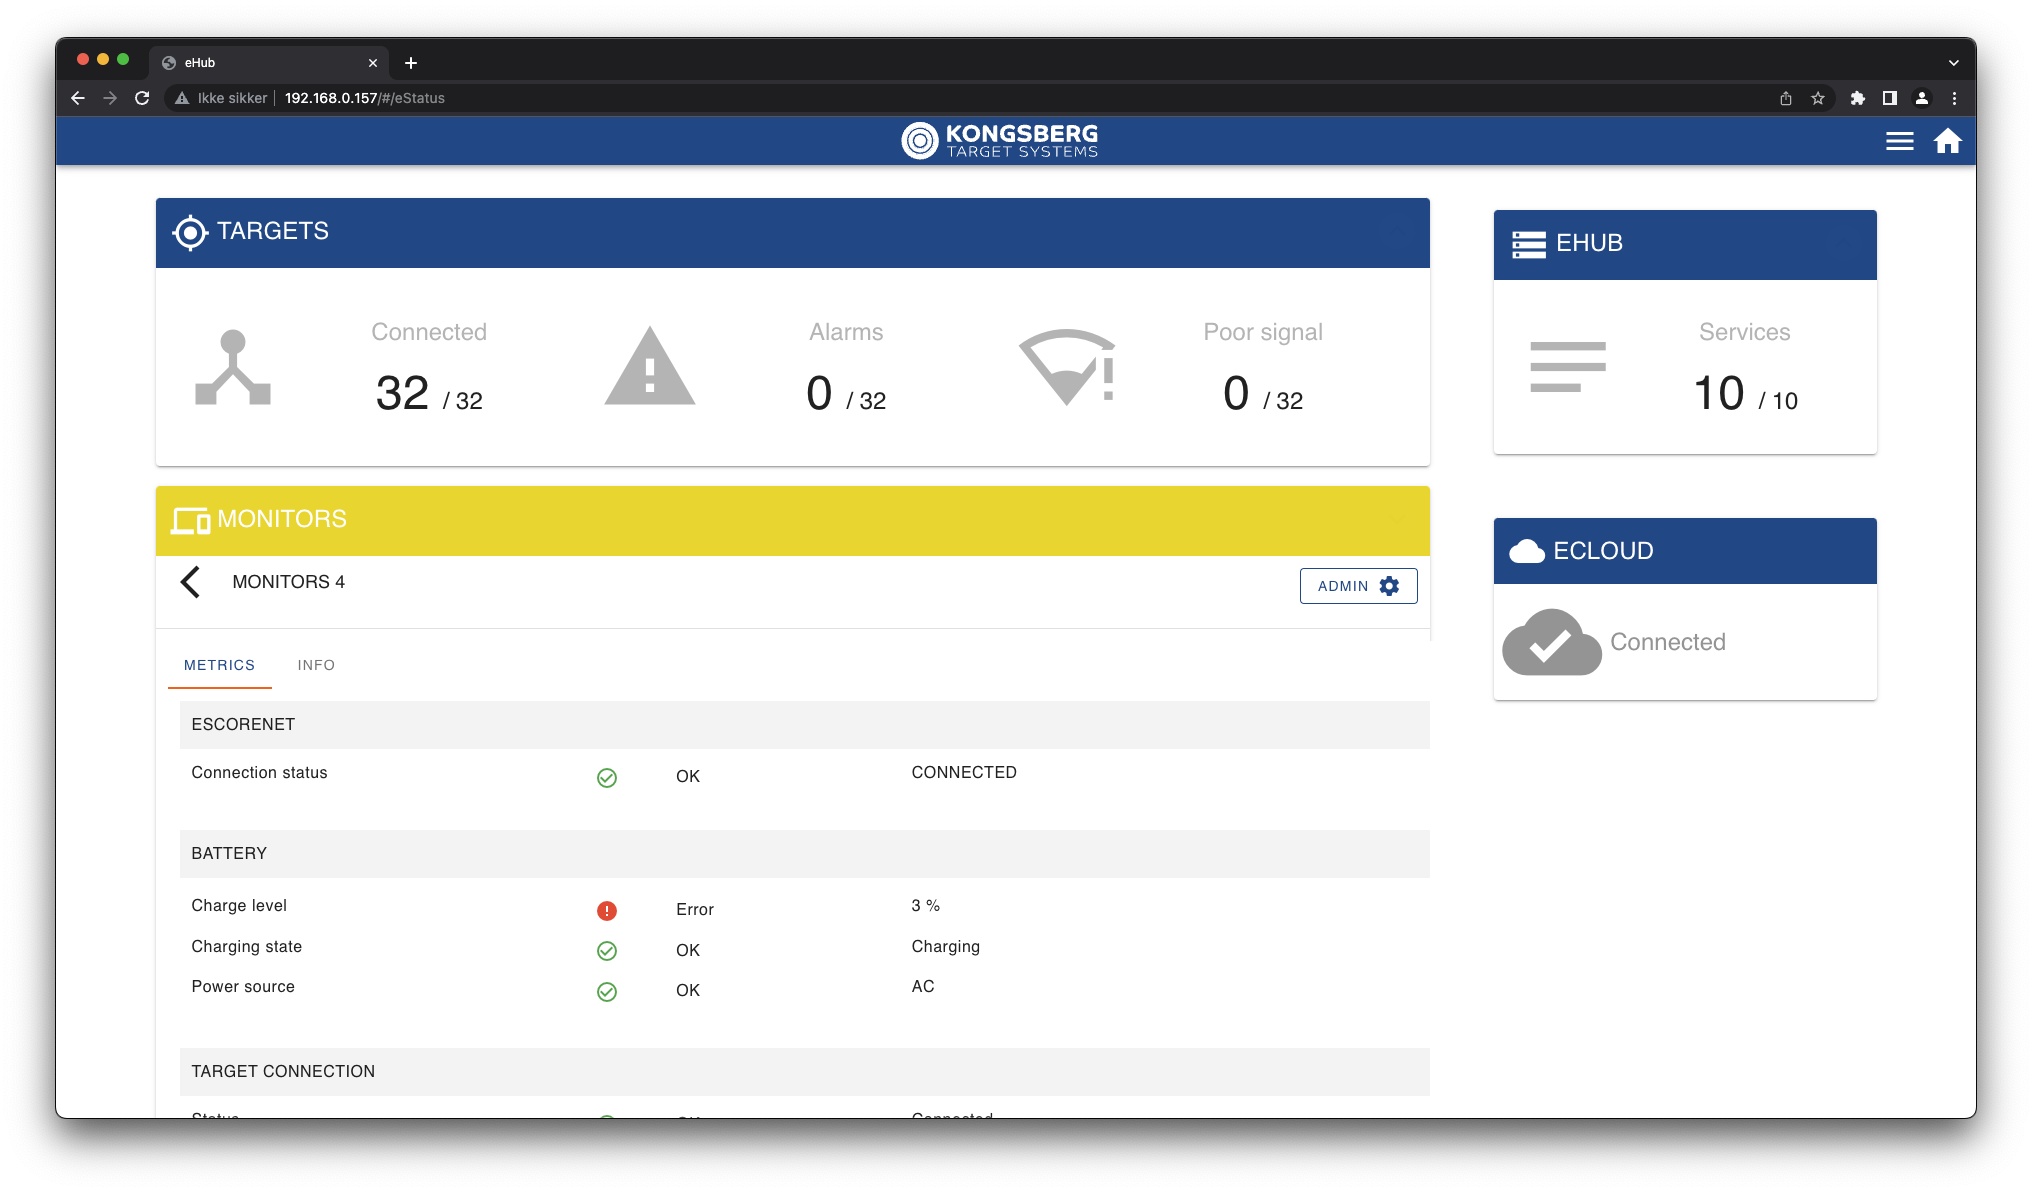 Low battery warning.
Connection status
If one or more units are disconnected, you will get an alarm.
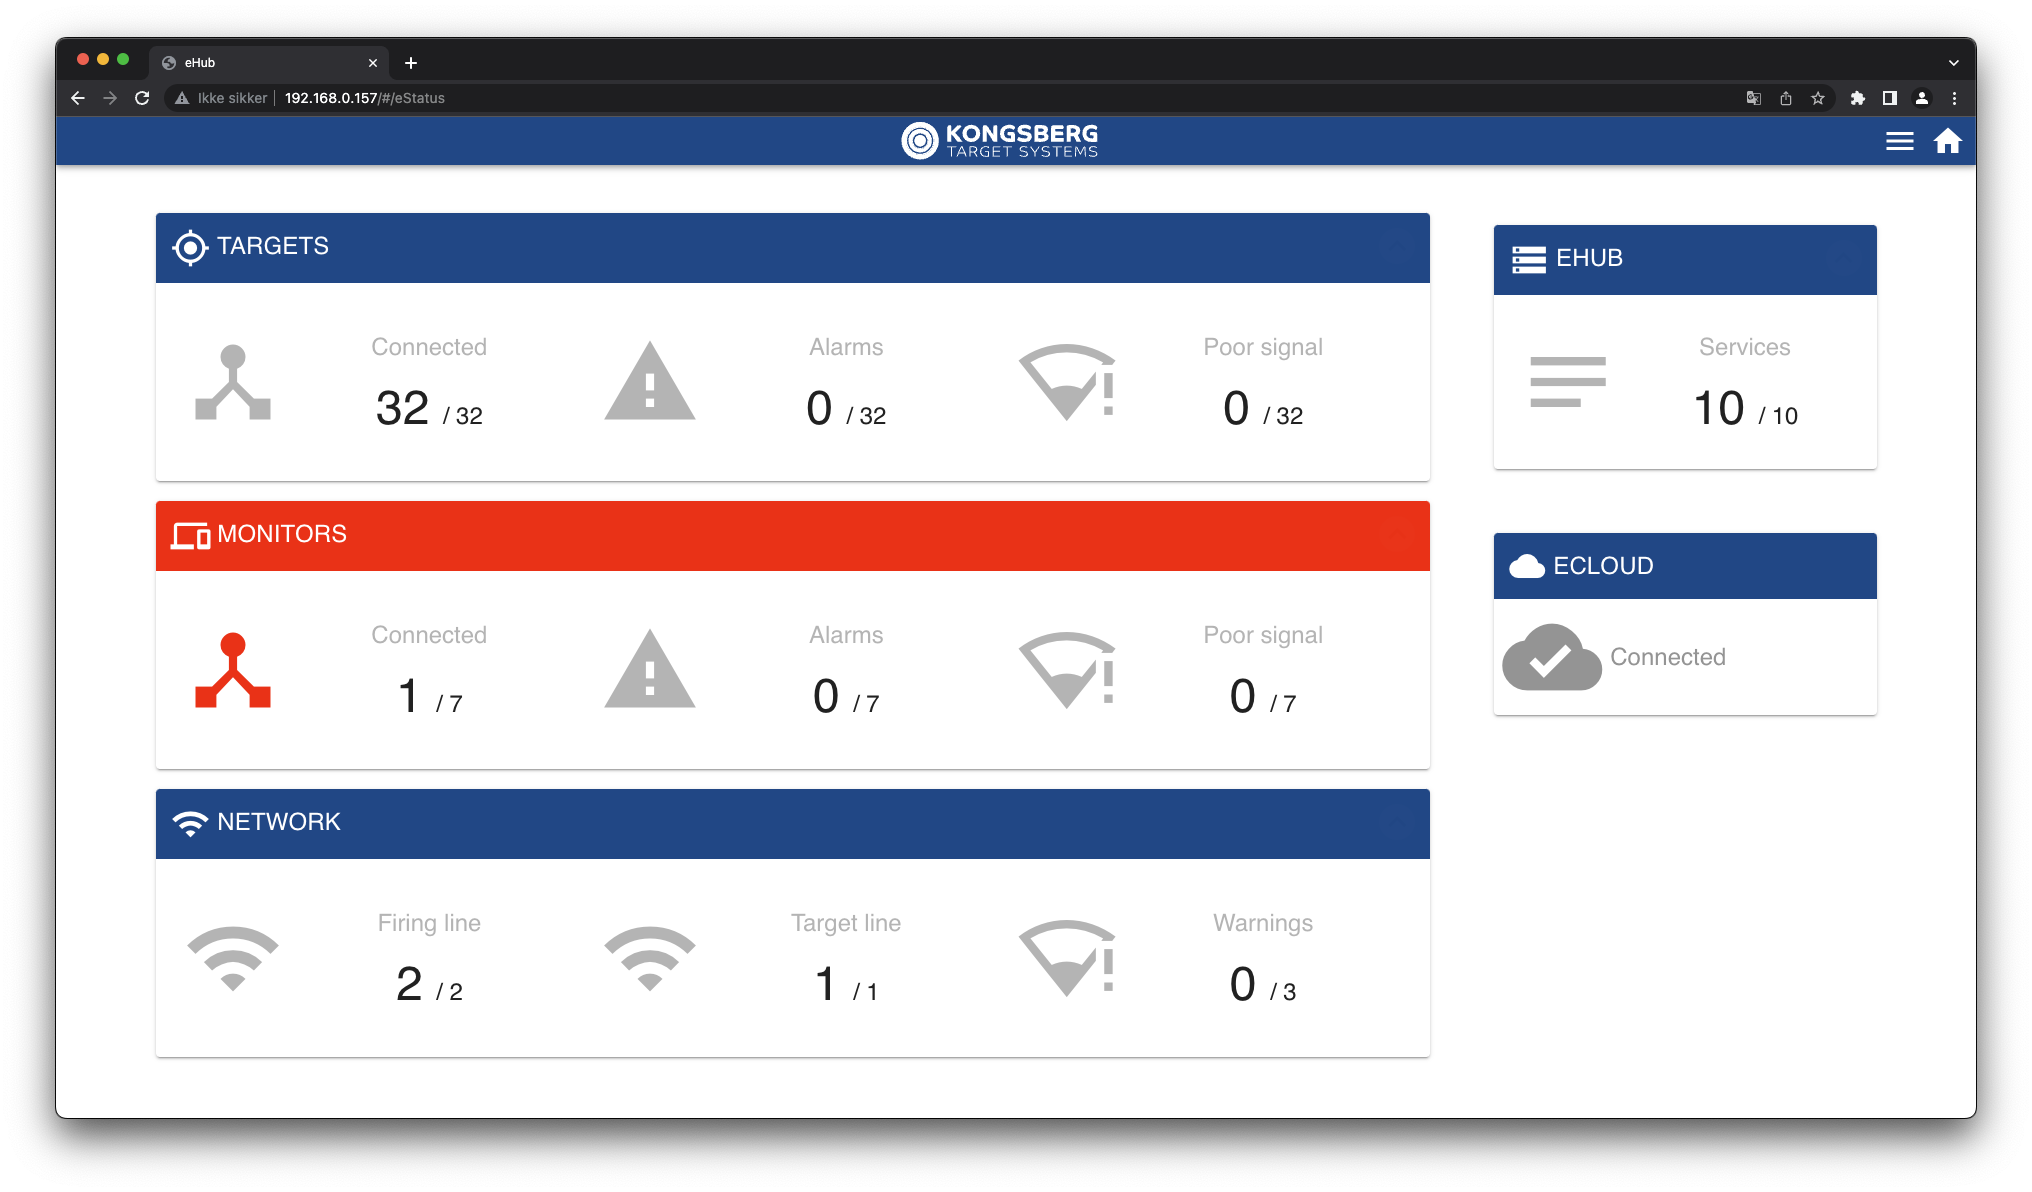 Only 1 of 7 monitors are connected
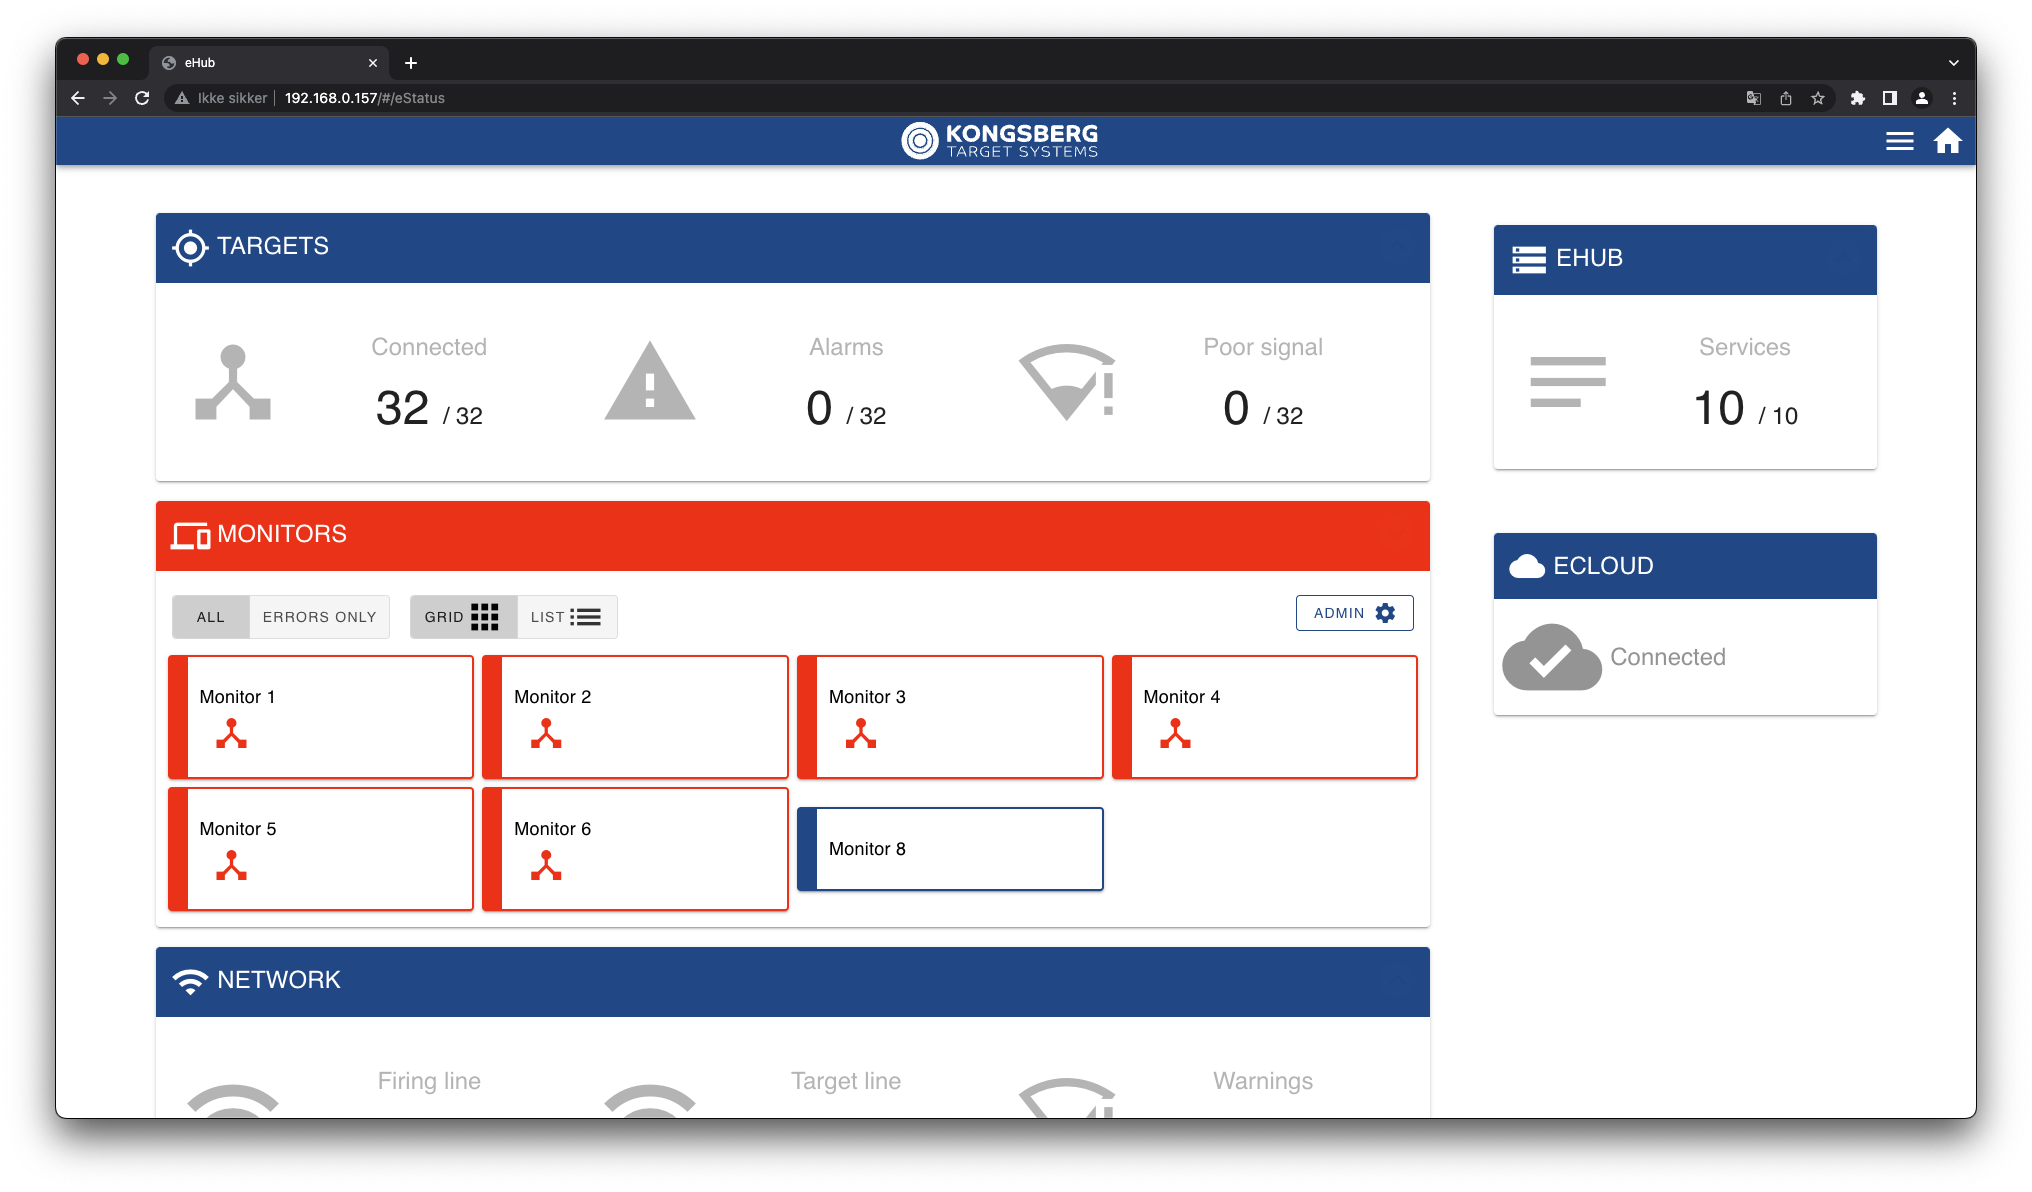 Only monitor at lane 8 is connected
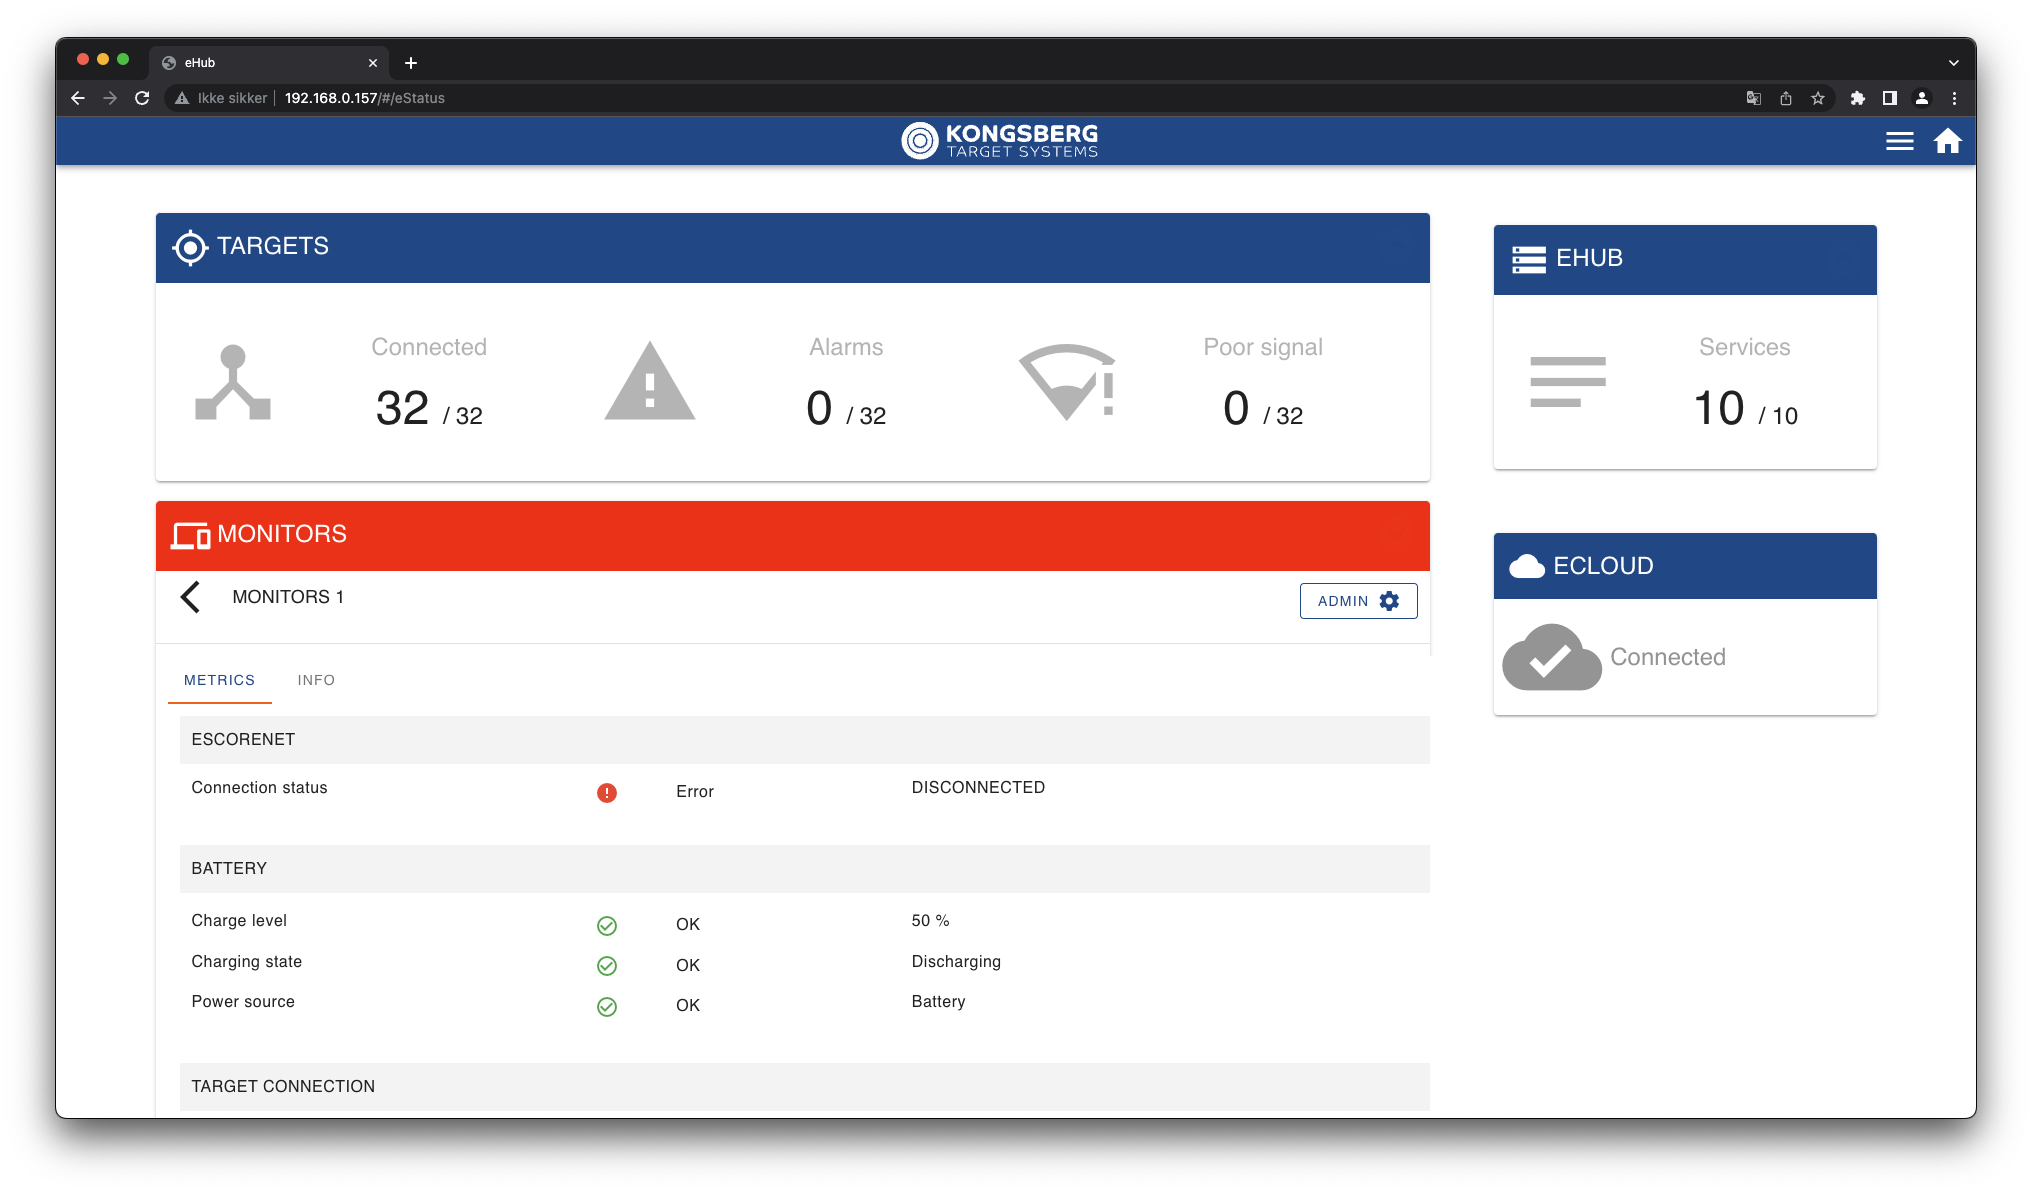 Connection status is DISCONNECTED.